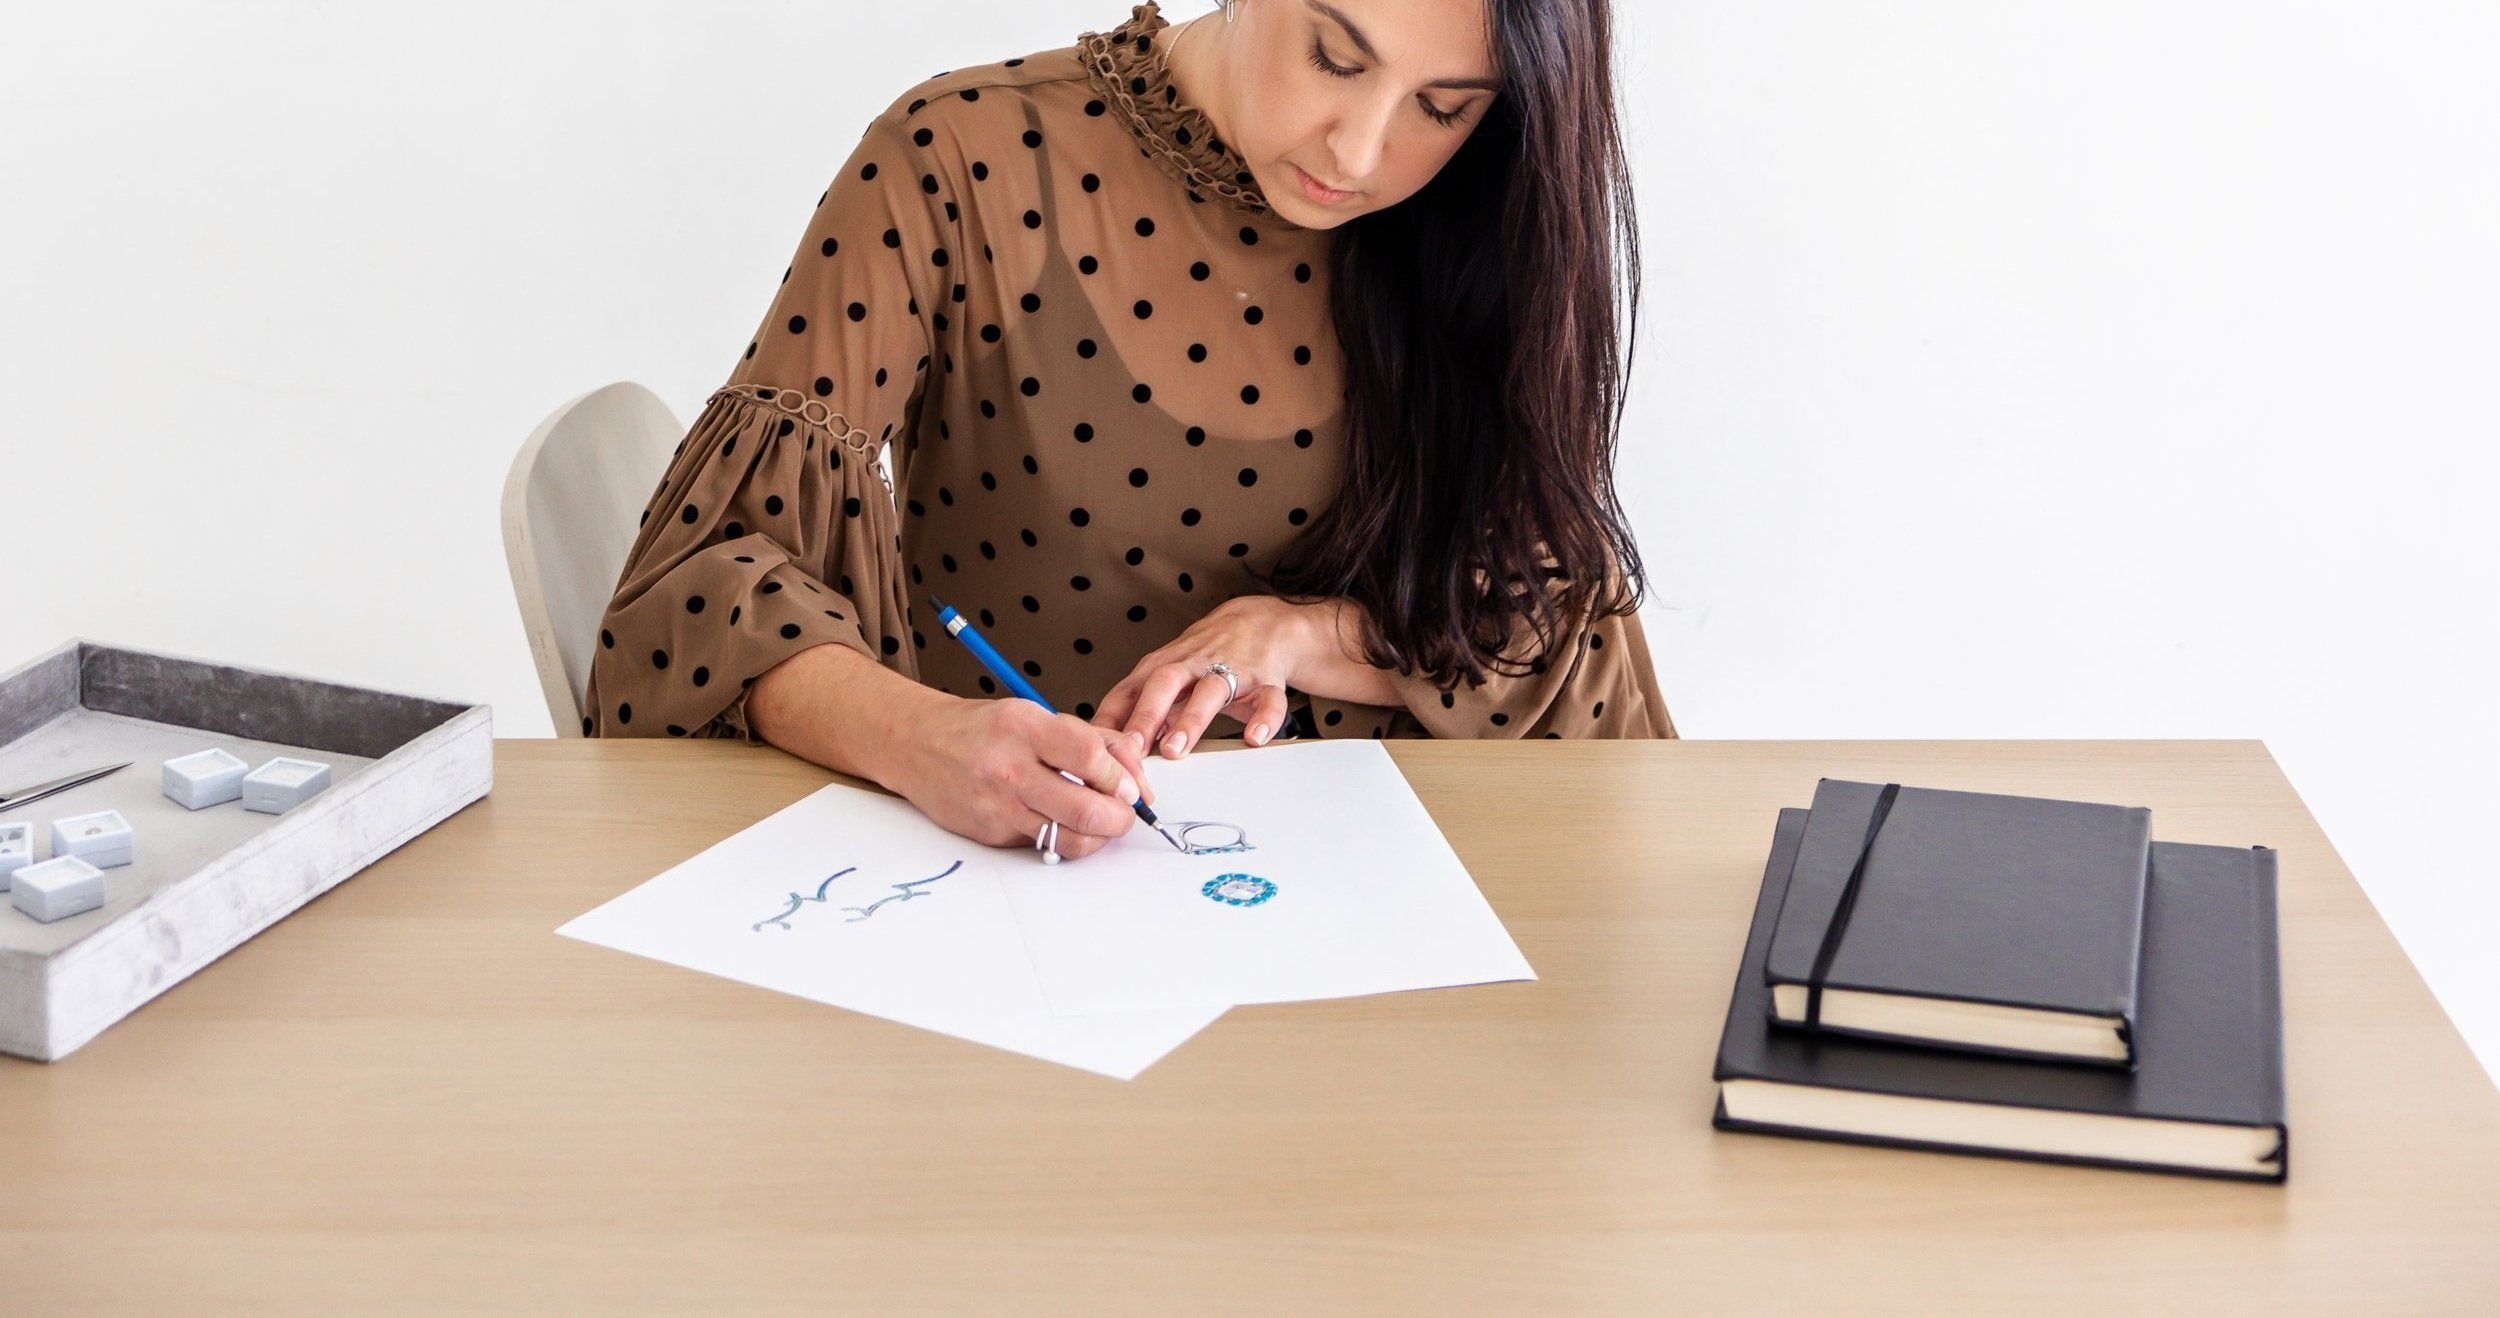
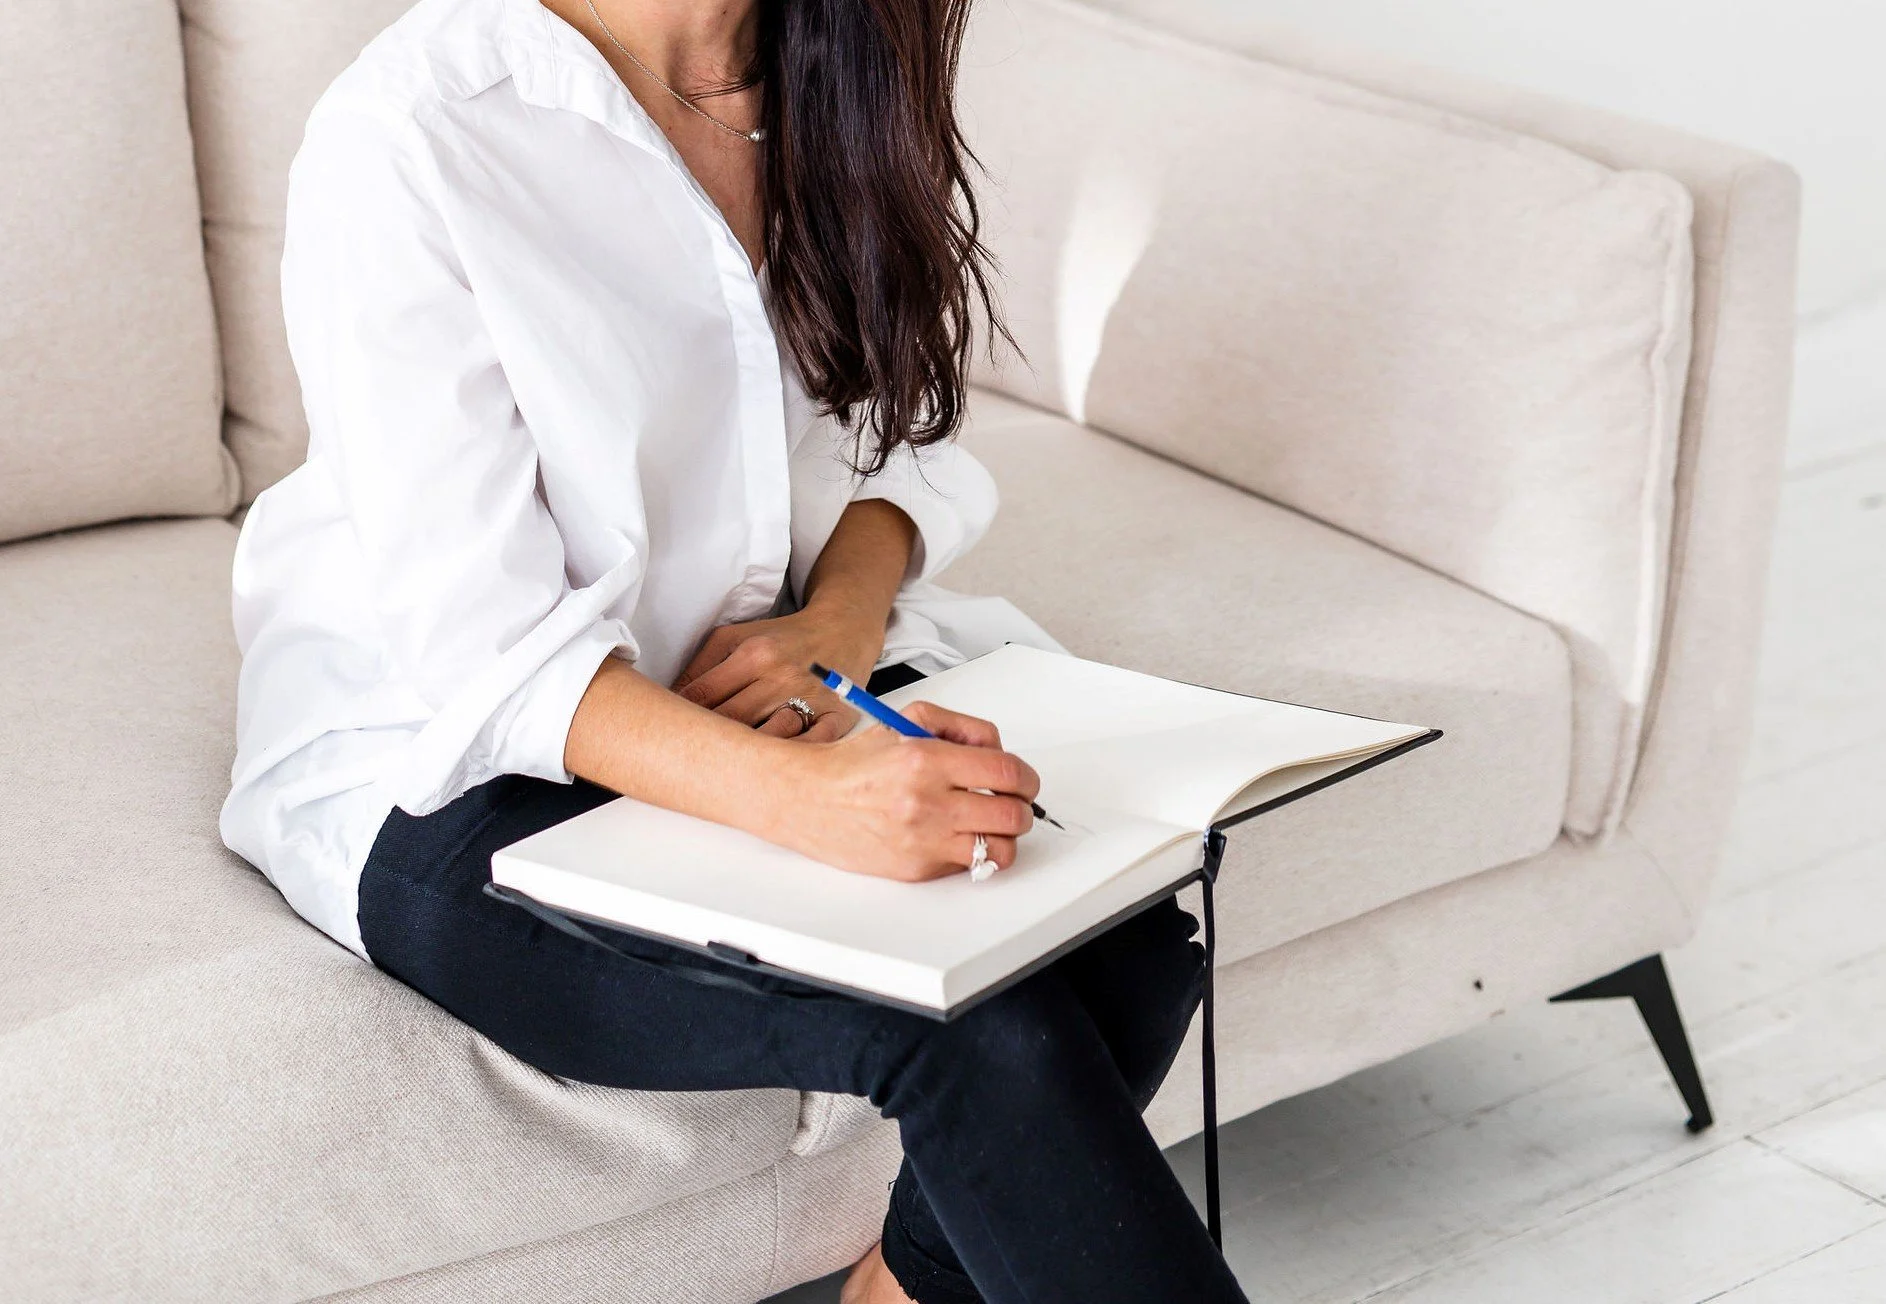
I’m Jennifer Rowlands, Founder and Creative director of Refinery Row. Refinery Row is a design studio supporting the jewellery industry with an alternative version of design and illustration.
My career in the jewellery industry started by accident. I found myself getting kicked out of my tech graphics class in year 11 of high school. I got told to go and find something else to do because I had finished my work and the teacher had nothing else for me. I stumble into the metalwork class and found an option I didn’t know existed. Until then I didn’t know what I would do after I finished school, I was still deciding and exploring ideas and options (maybe something science based but this didn’t feel right) but soldering my first brass ring sparked an idea. Maybe I could be a jeweller?
It sounded like the perfect hands on creativity role that I might enjoy. So I spent my school holidays looking for work experience, I found a place to take me on for a few days and I loved it. After I finished year 12 I enrolled in a Certificate IV in jewellery manufacturing while I looked for an apprenticeship. I was lucky enough to find one and swapped over to the Certificate III but that start at the bench didn’t work out. Even though that workplace wasn’t the best place for an apprentice, I loved jewellery. I realised I loved problem solving and I was good at it so I turned my focus to design. I decided to complete a Degree in jewellery design from Curtin University and landed a role as a designer while I studied. The version of the degree I completed was jewellery production with a heavy dose of product/architecture design which helped me expand my design foundation.
As a jewellery designer, I spent the next few years helping other amazing jewellers and designers build their companies, designing perfect pieces for their clients. I approached this with an attitude of saying “yes” to opportunities so I could be a part of and learn as much as possible. Experience covering Retail custom design, in house design, offshore manufacturing management, production coordination, sourcing, quoting, international travel and so much more built a career I loved. After living in Melbourne for a few years I realised I get bored easily and felt disheartened, I knew I had more to offer. I needed a change and to do more, something with more diversity, purpose and to leave my comfort zone.
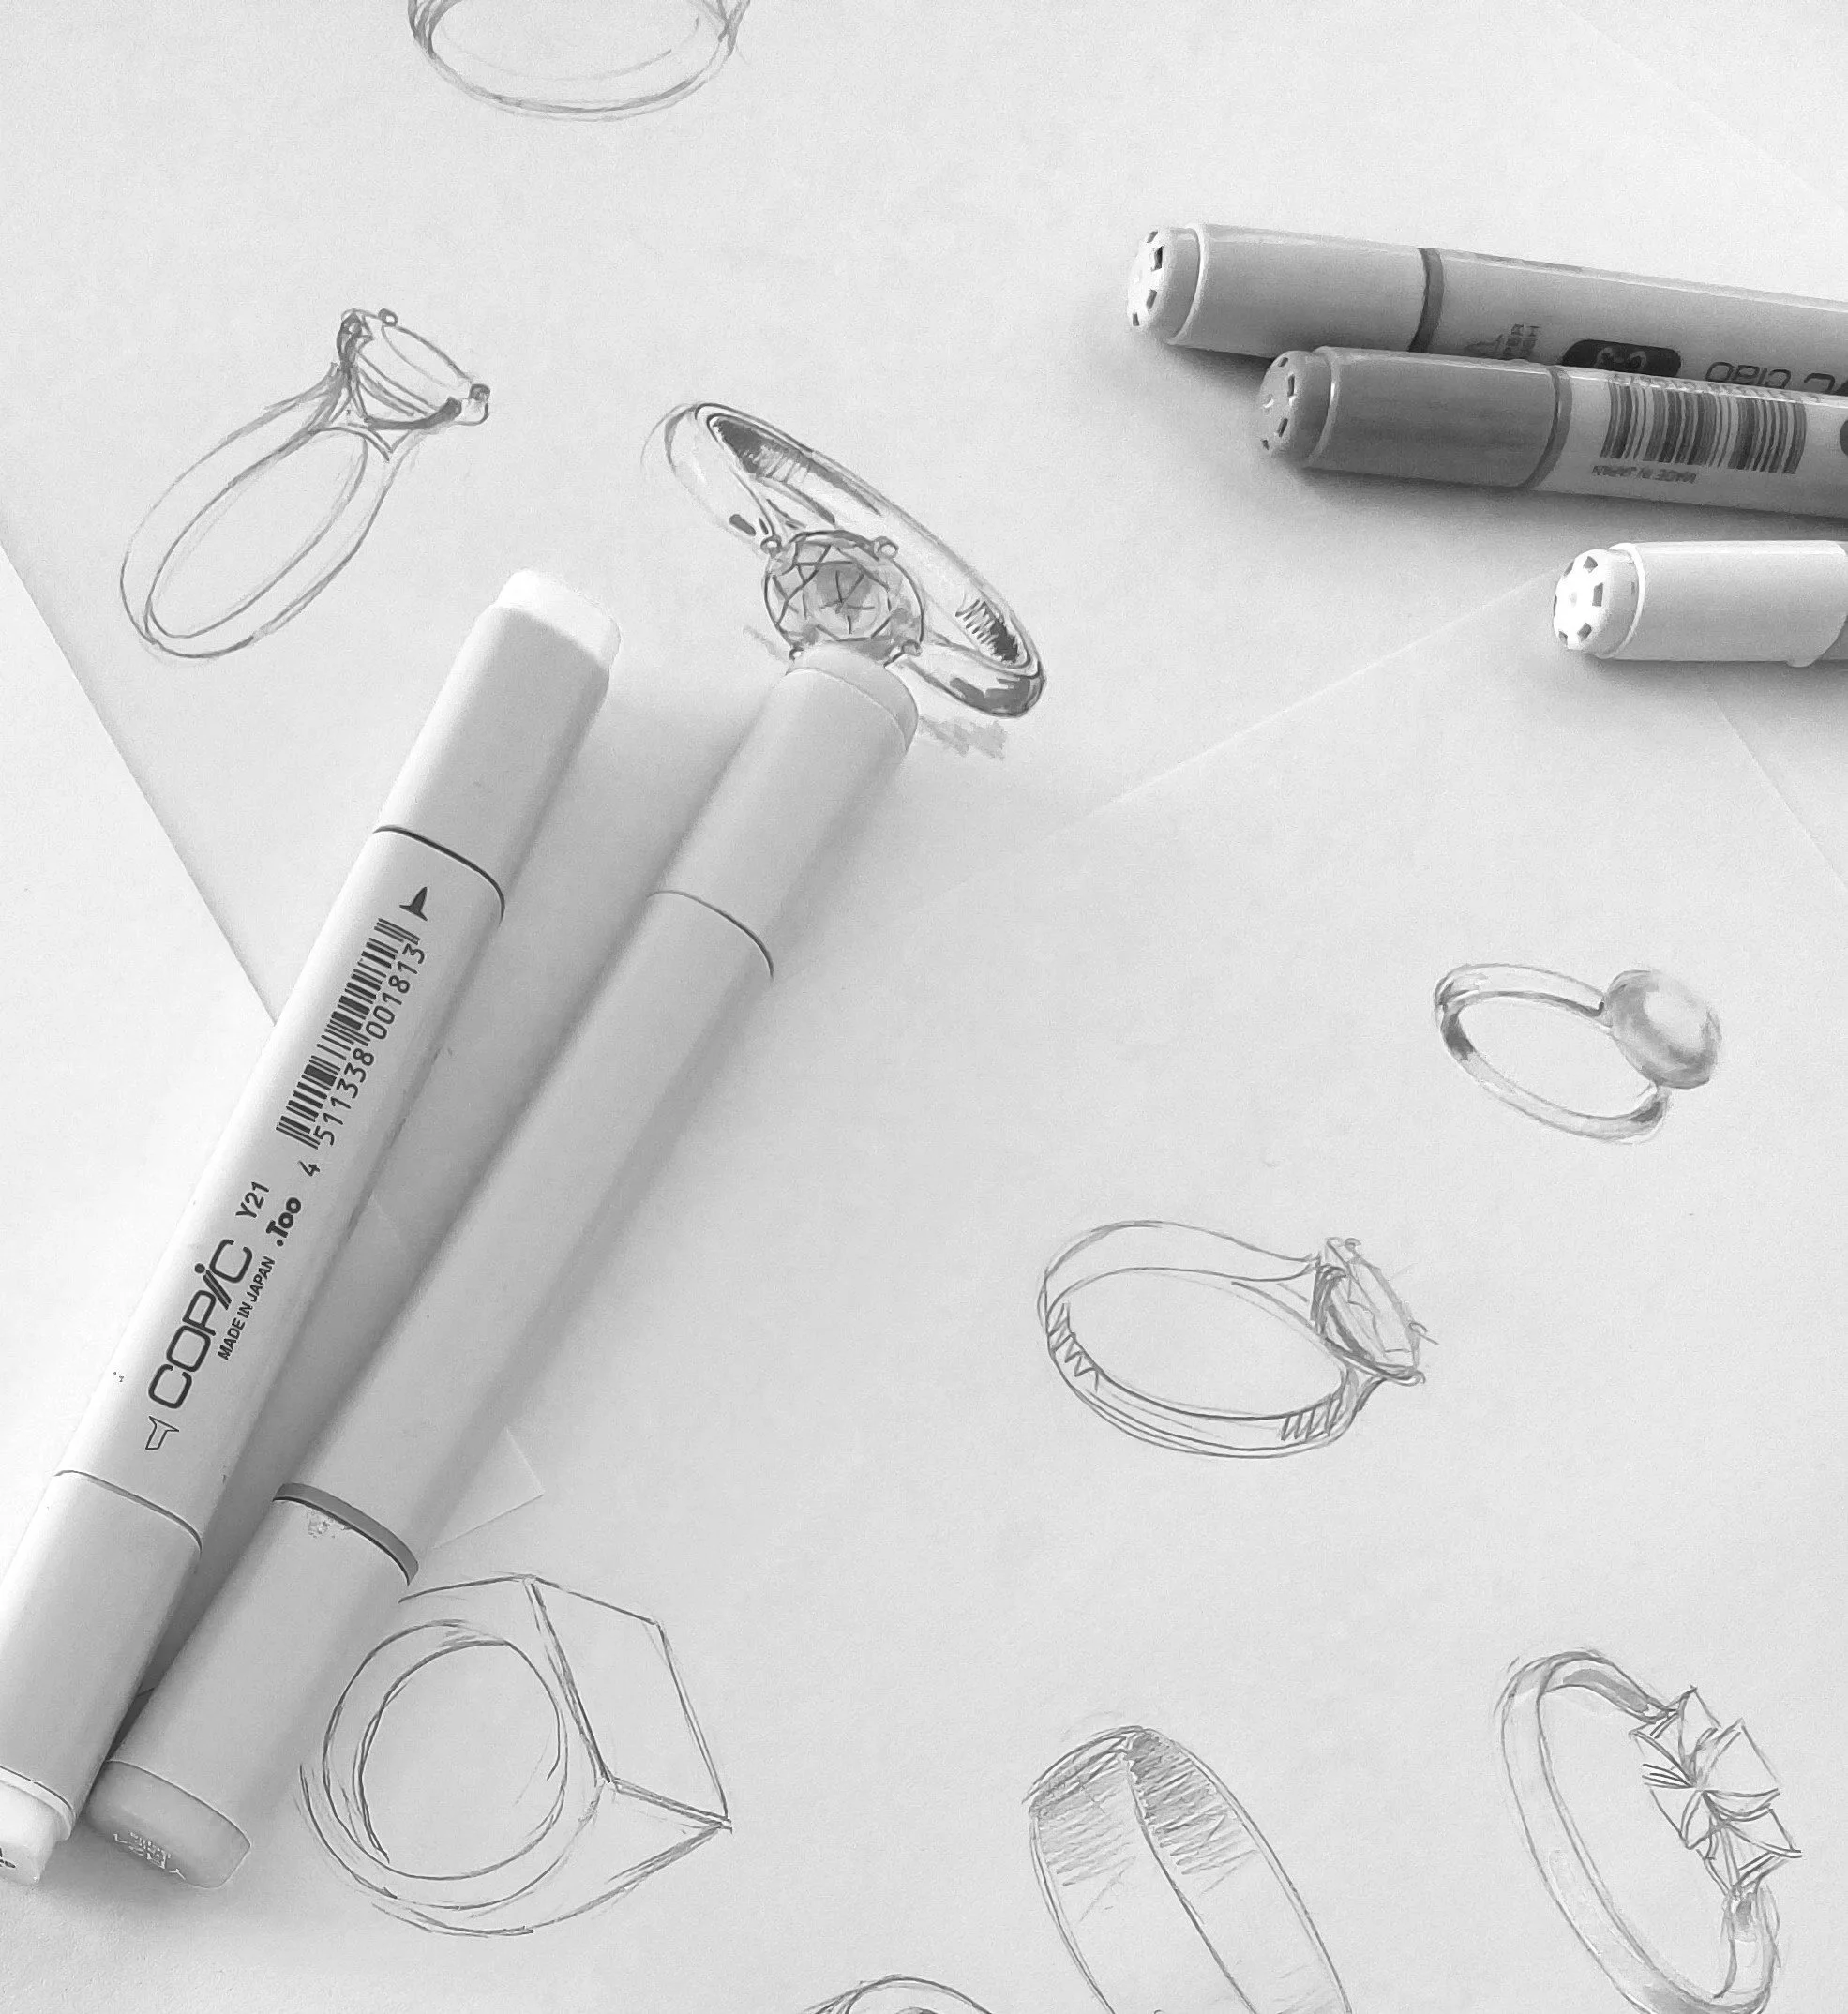
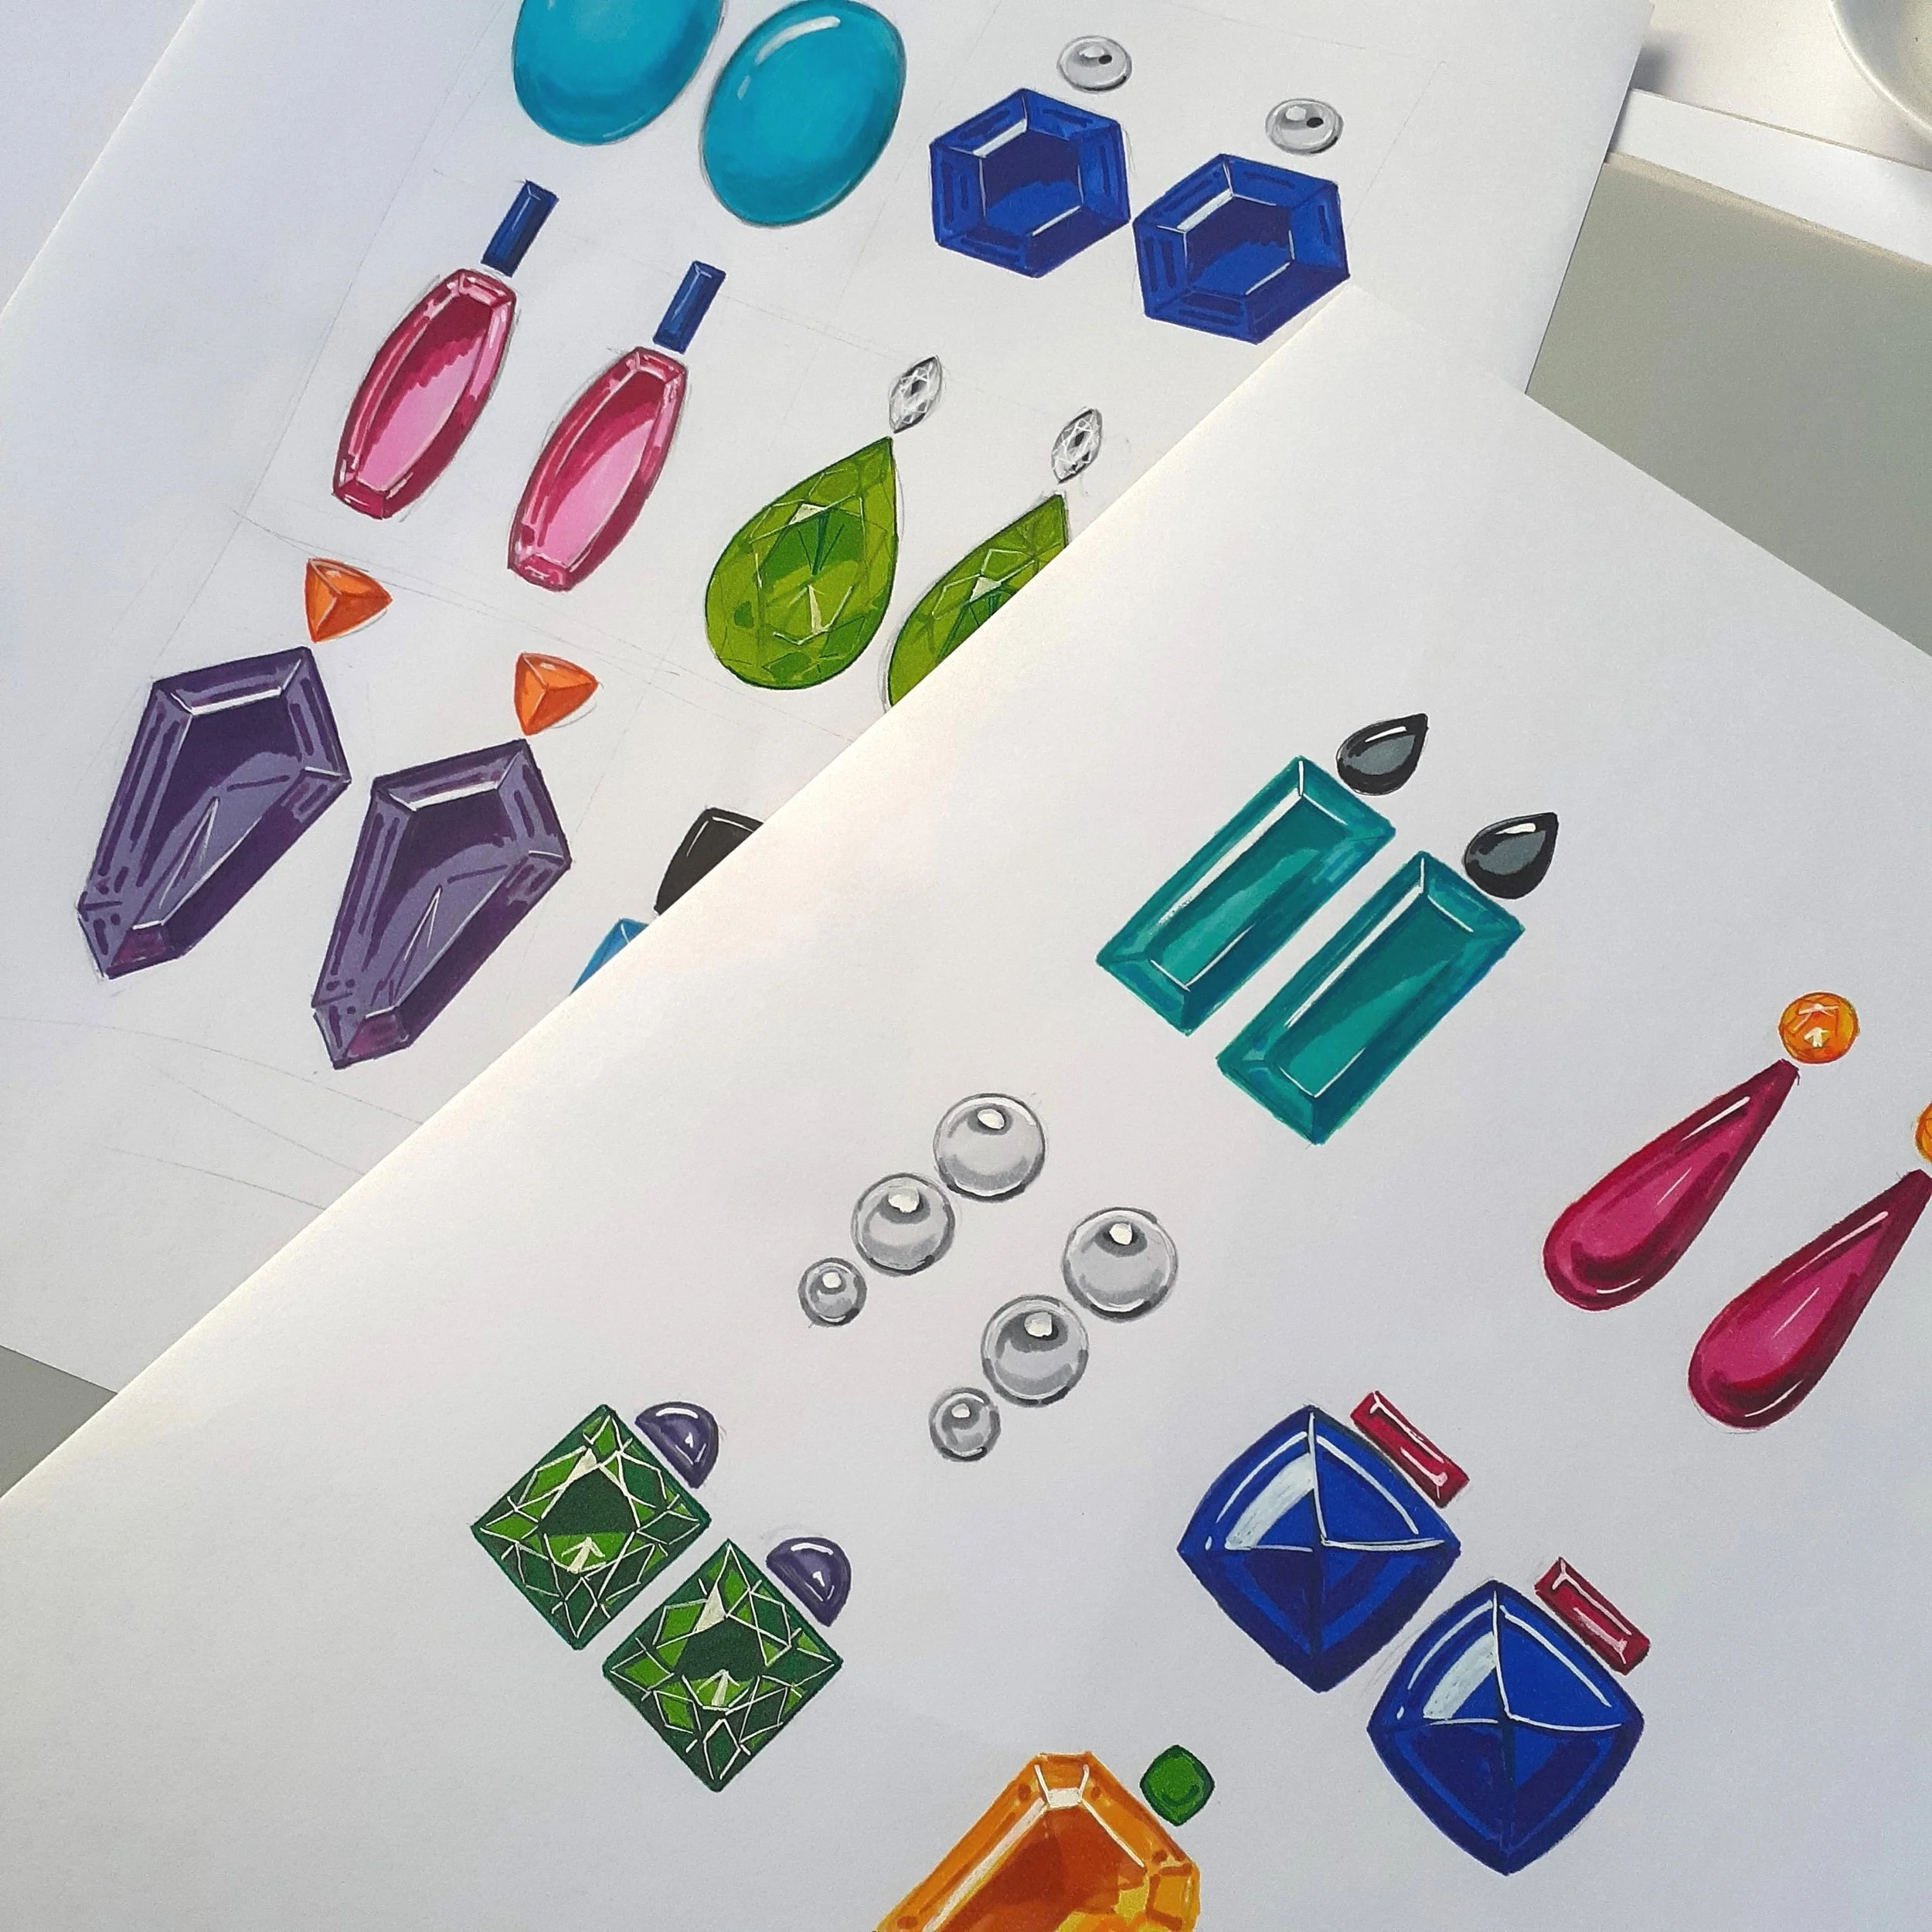
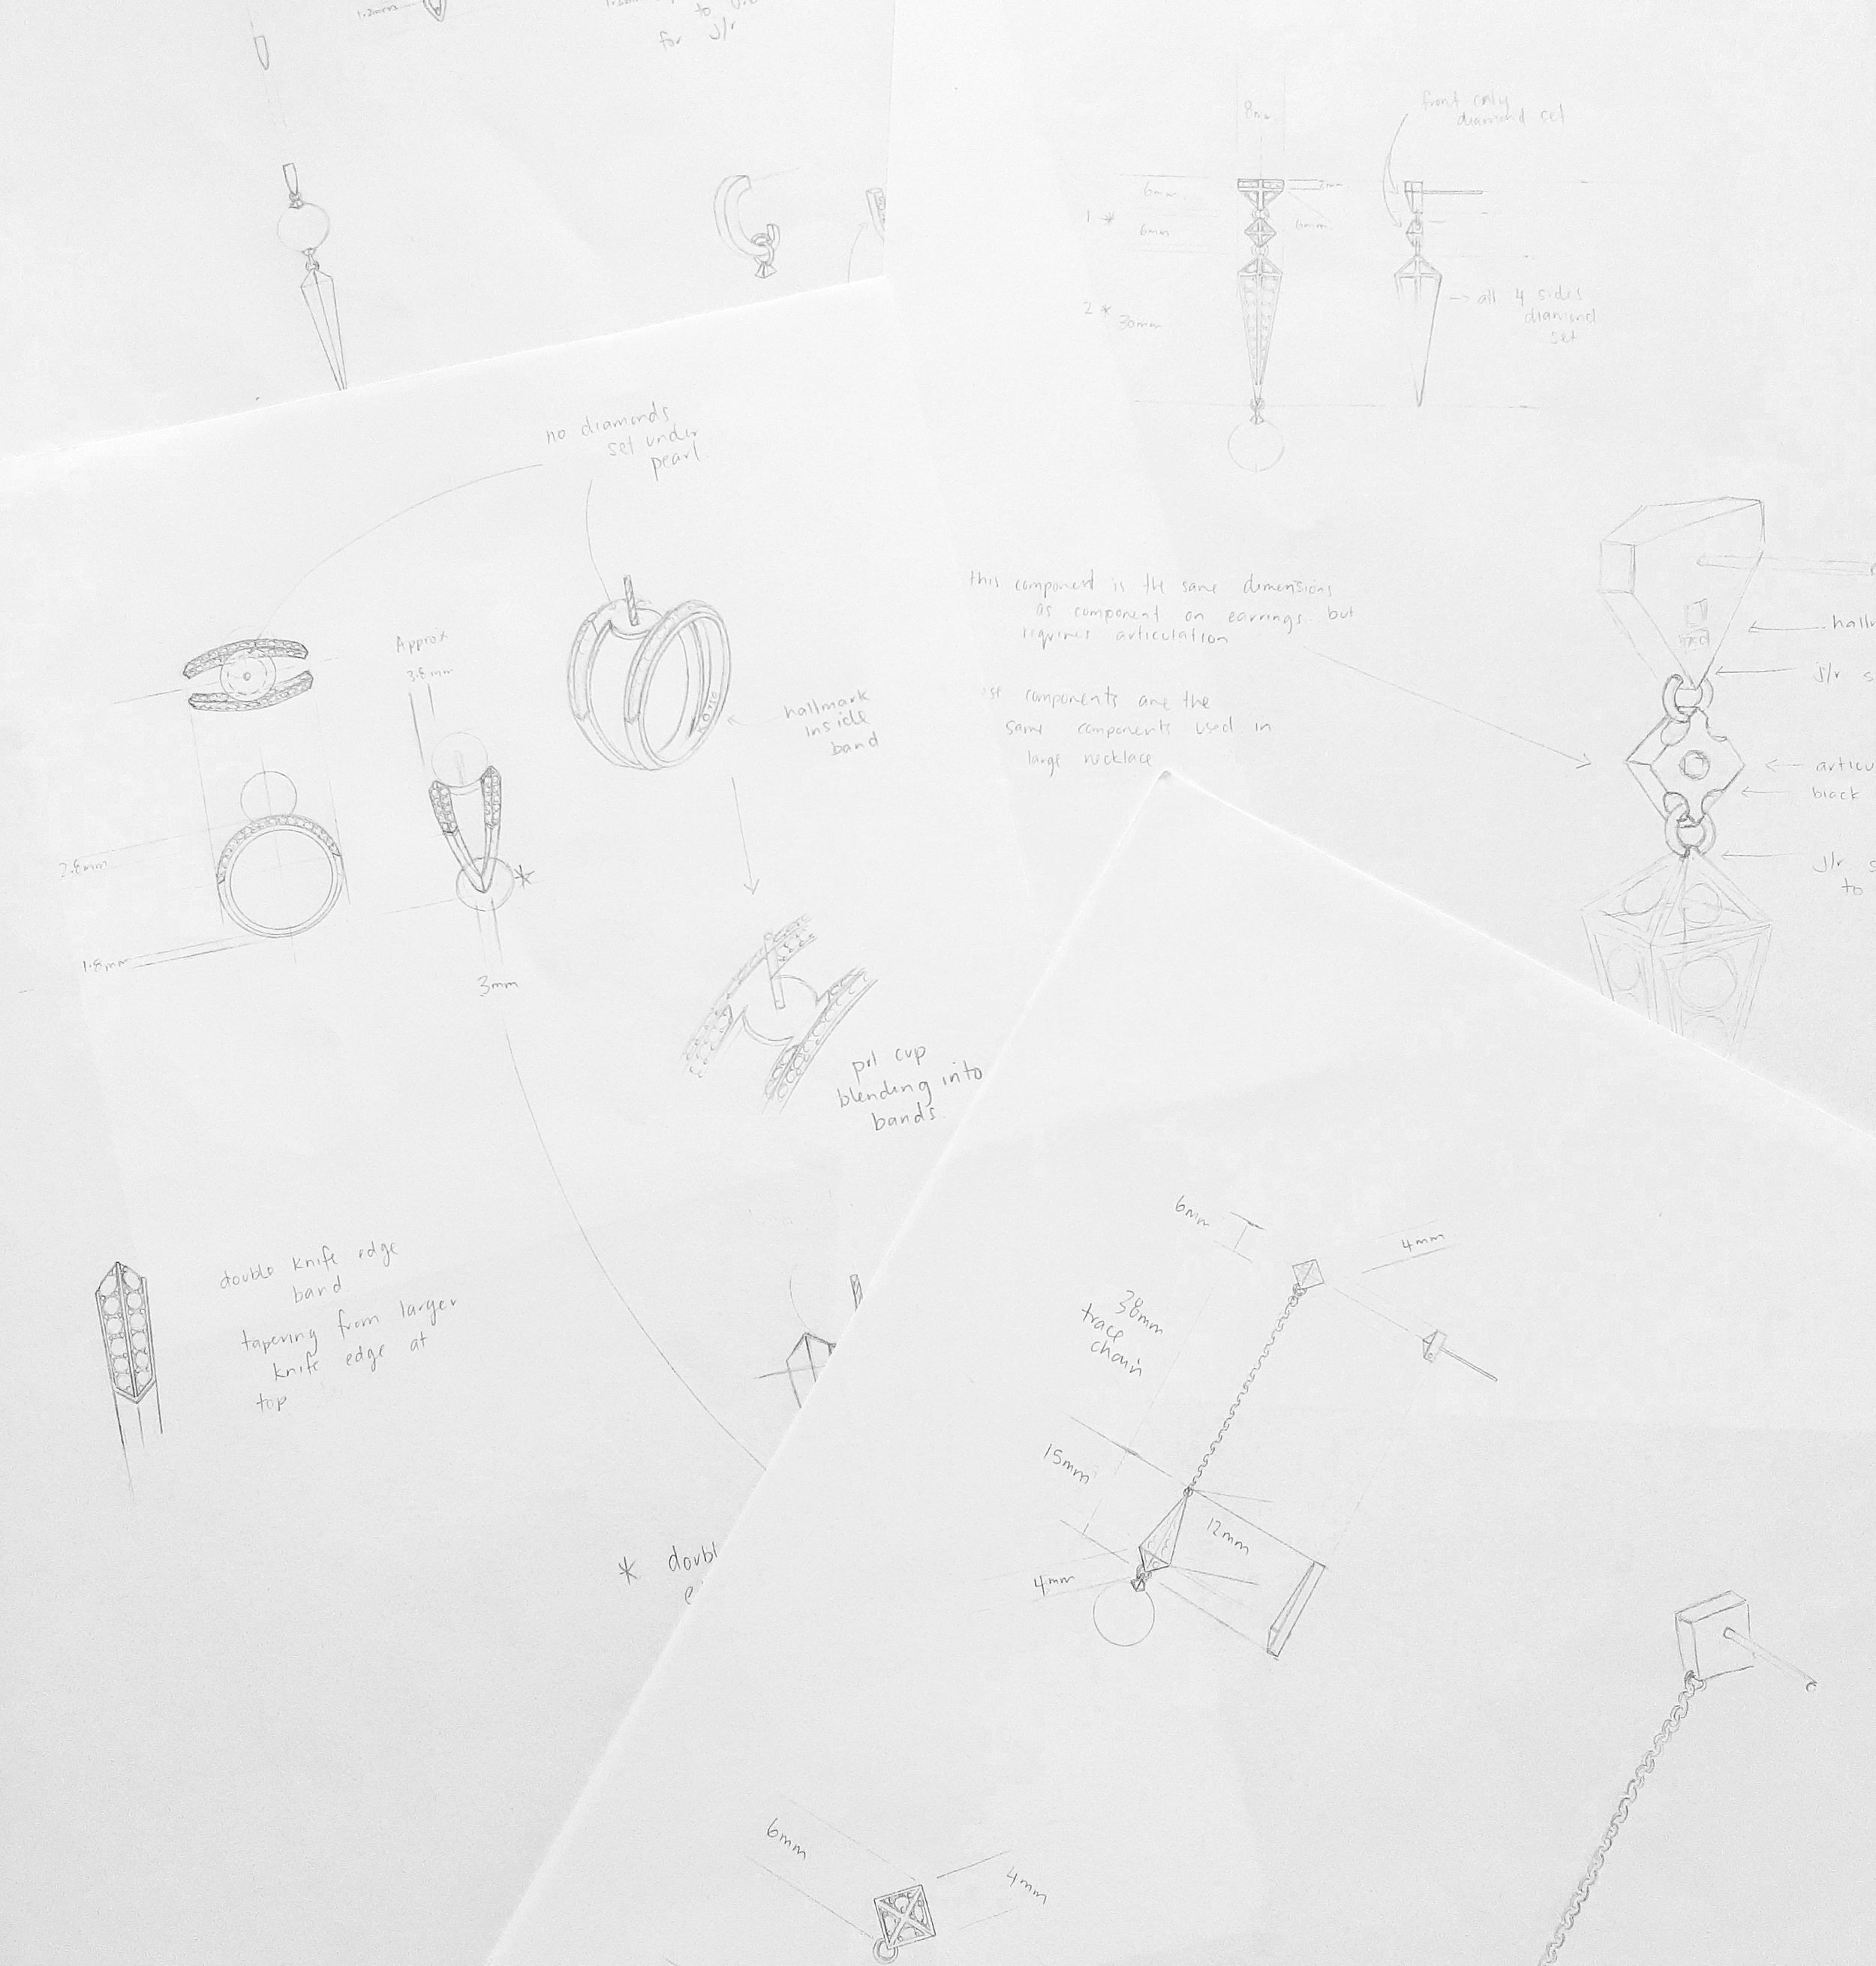
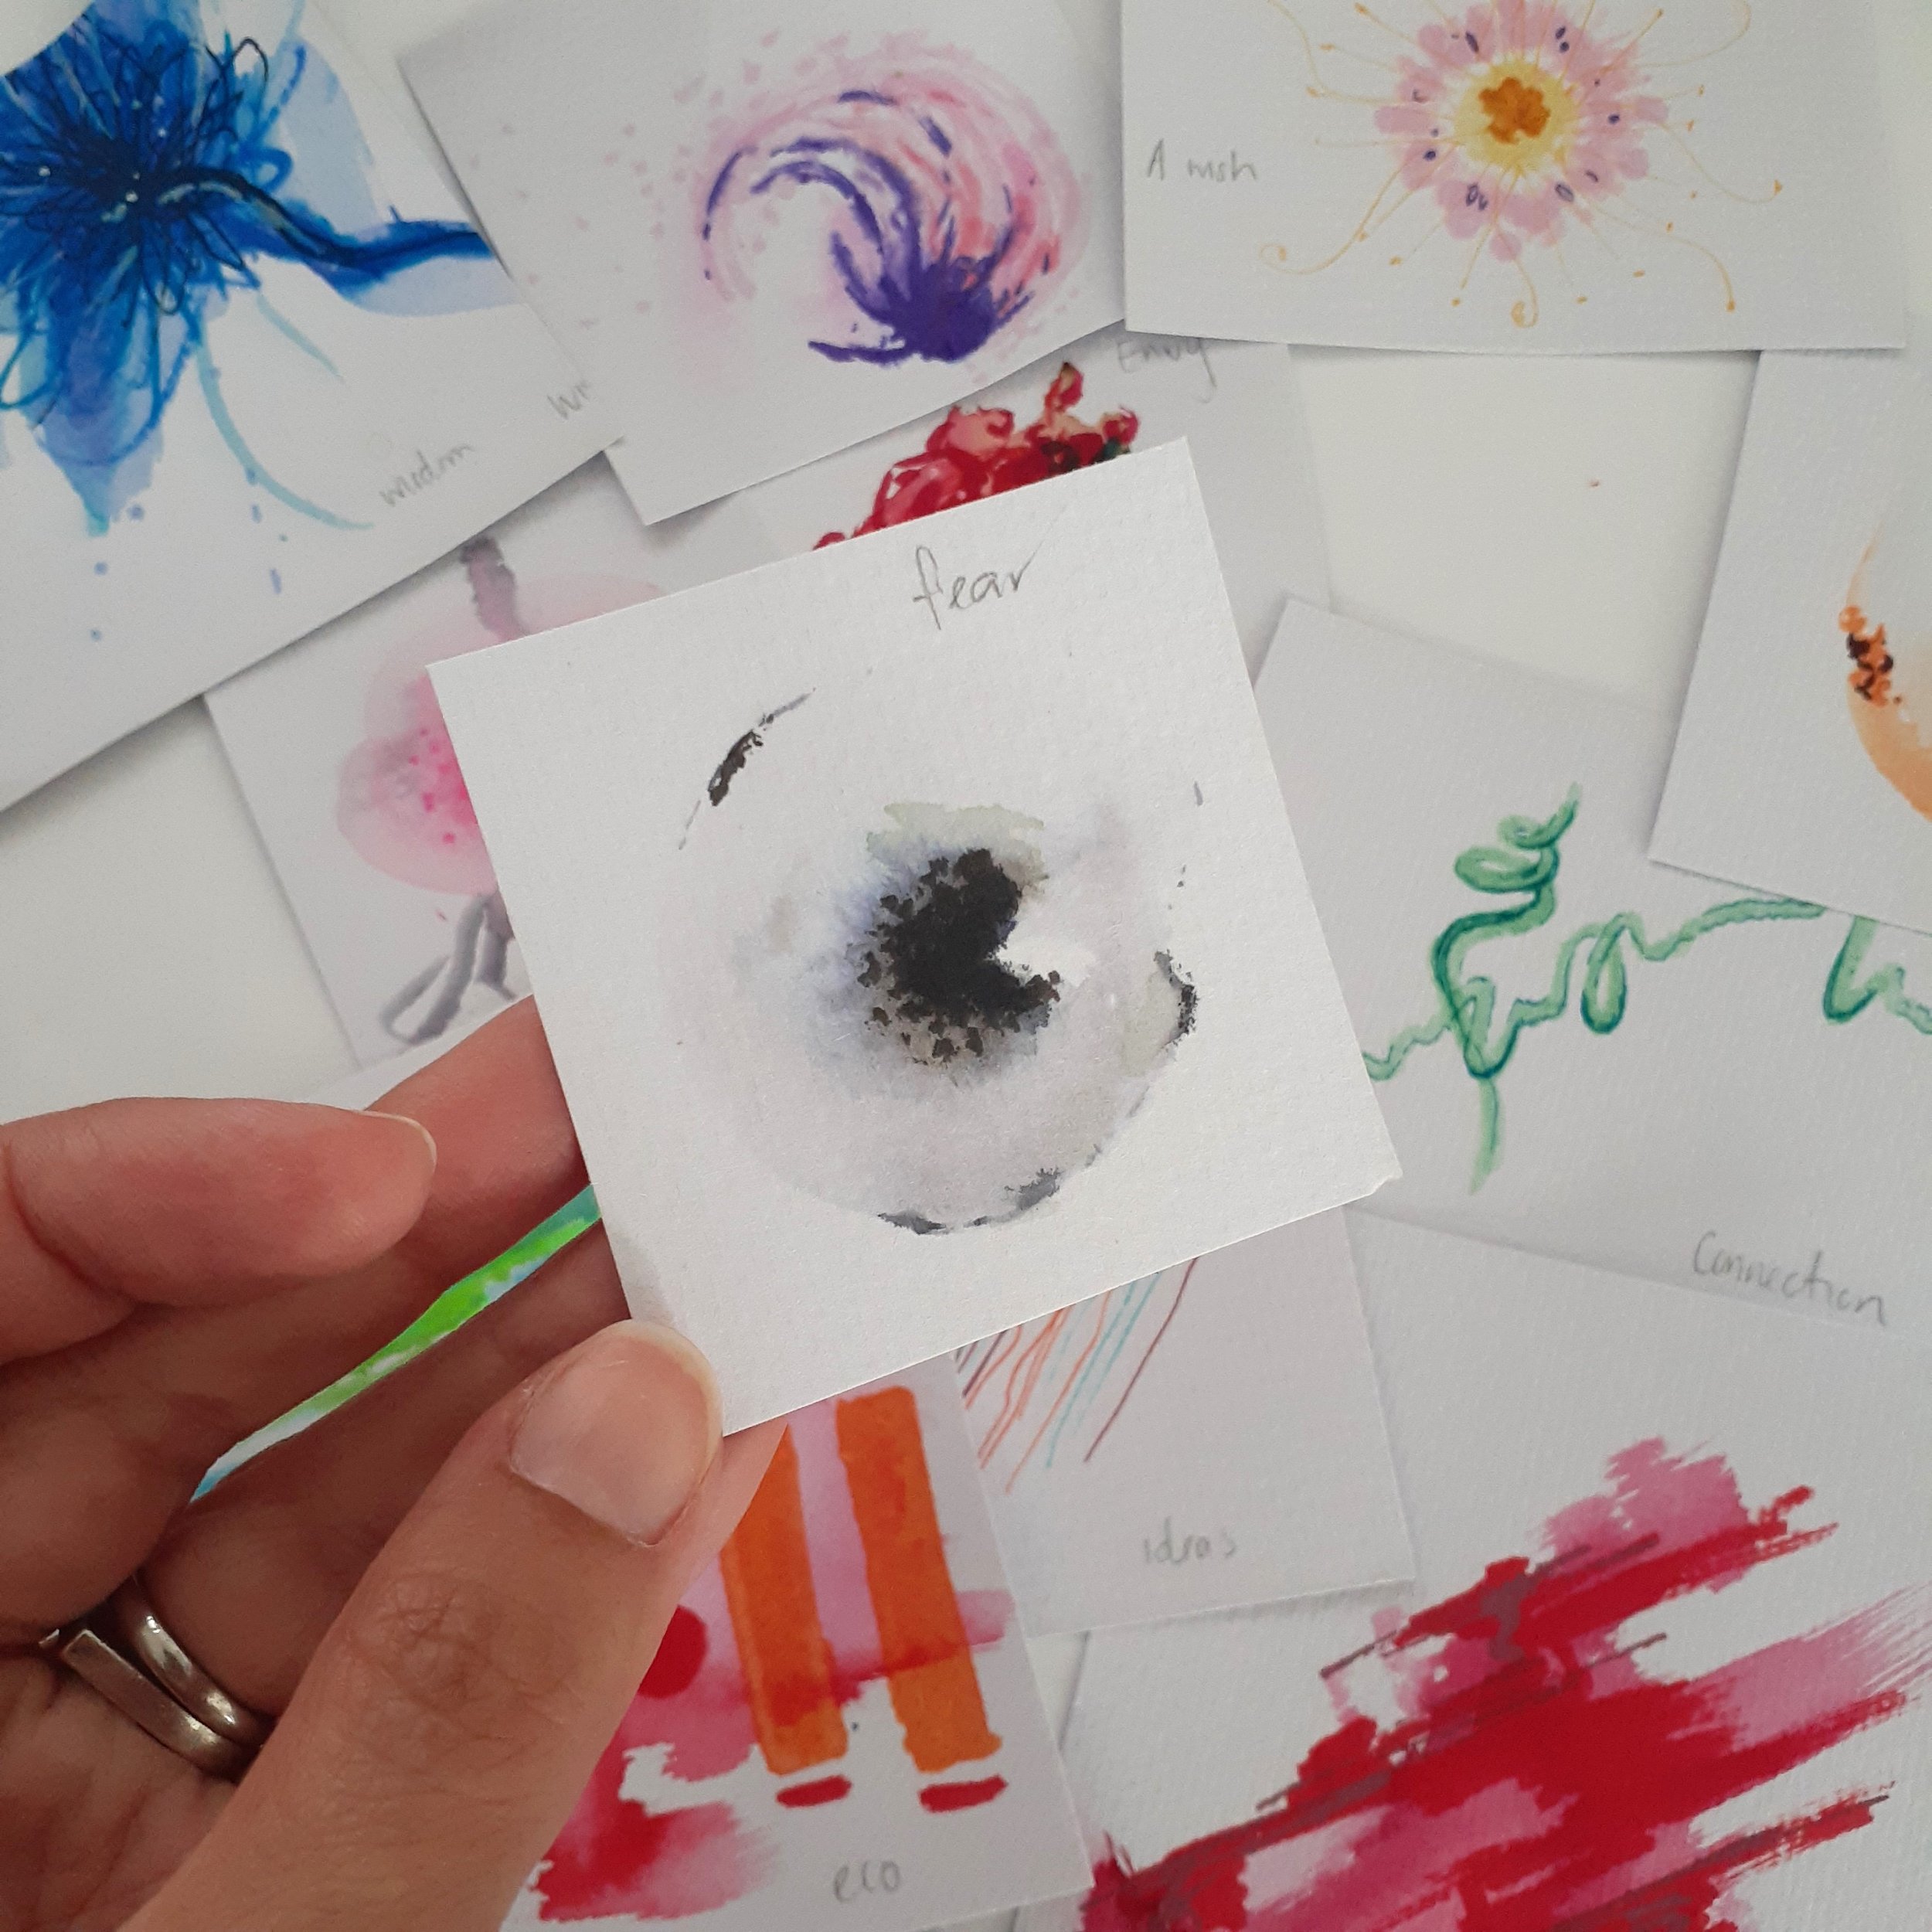
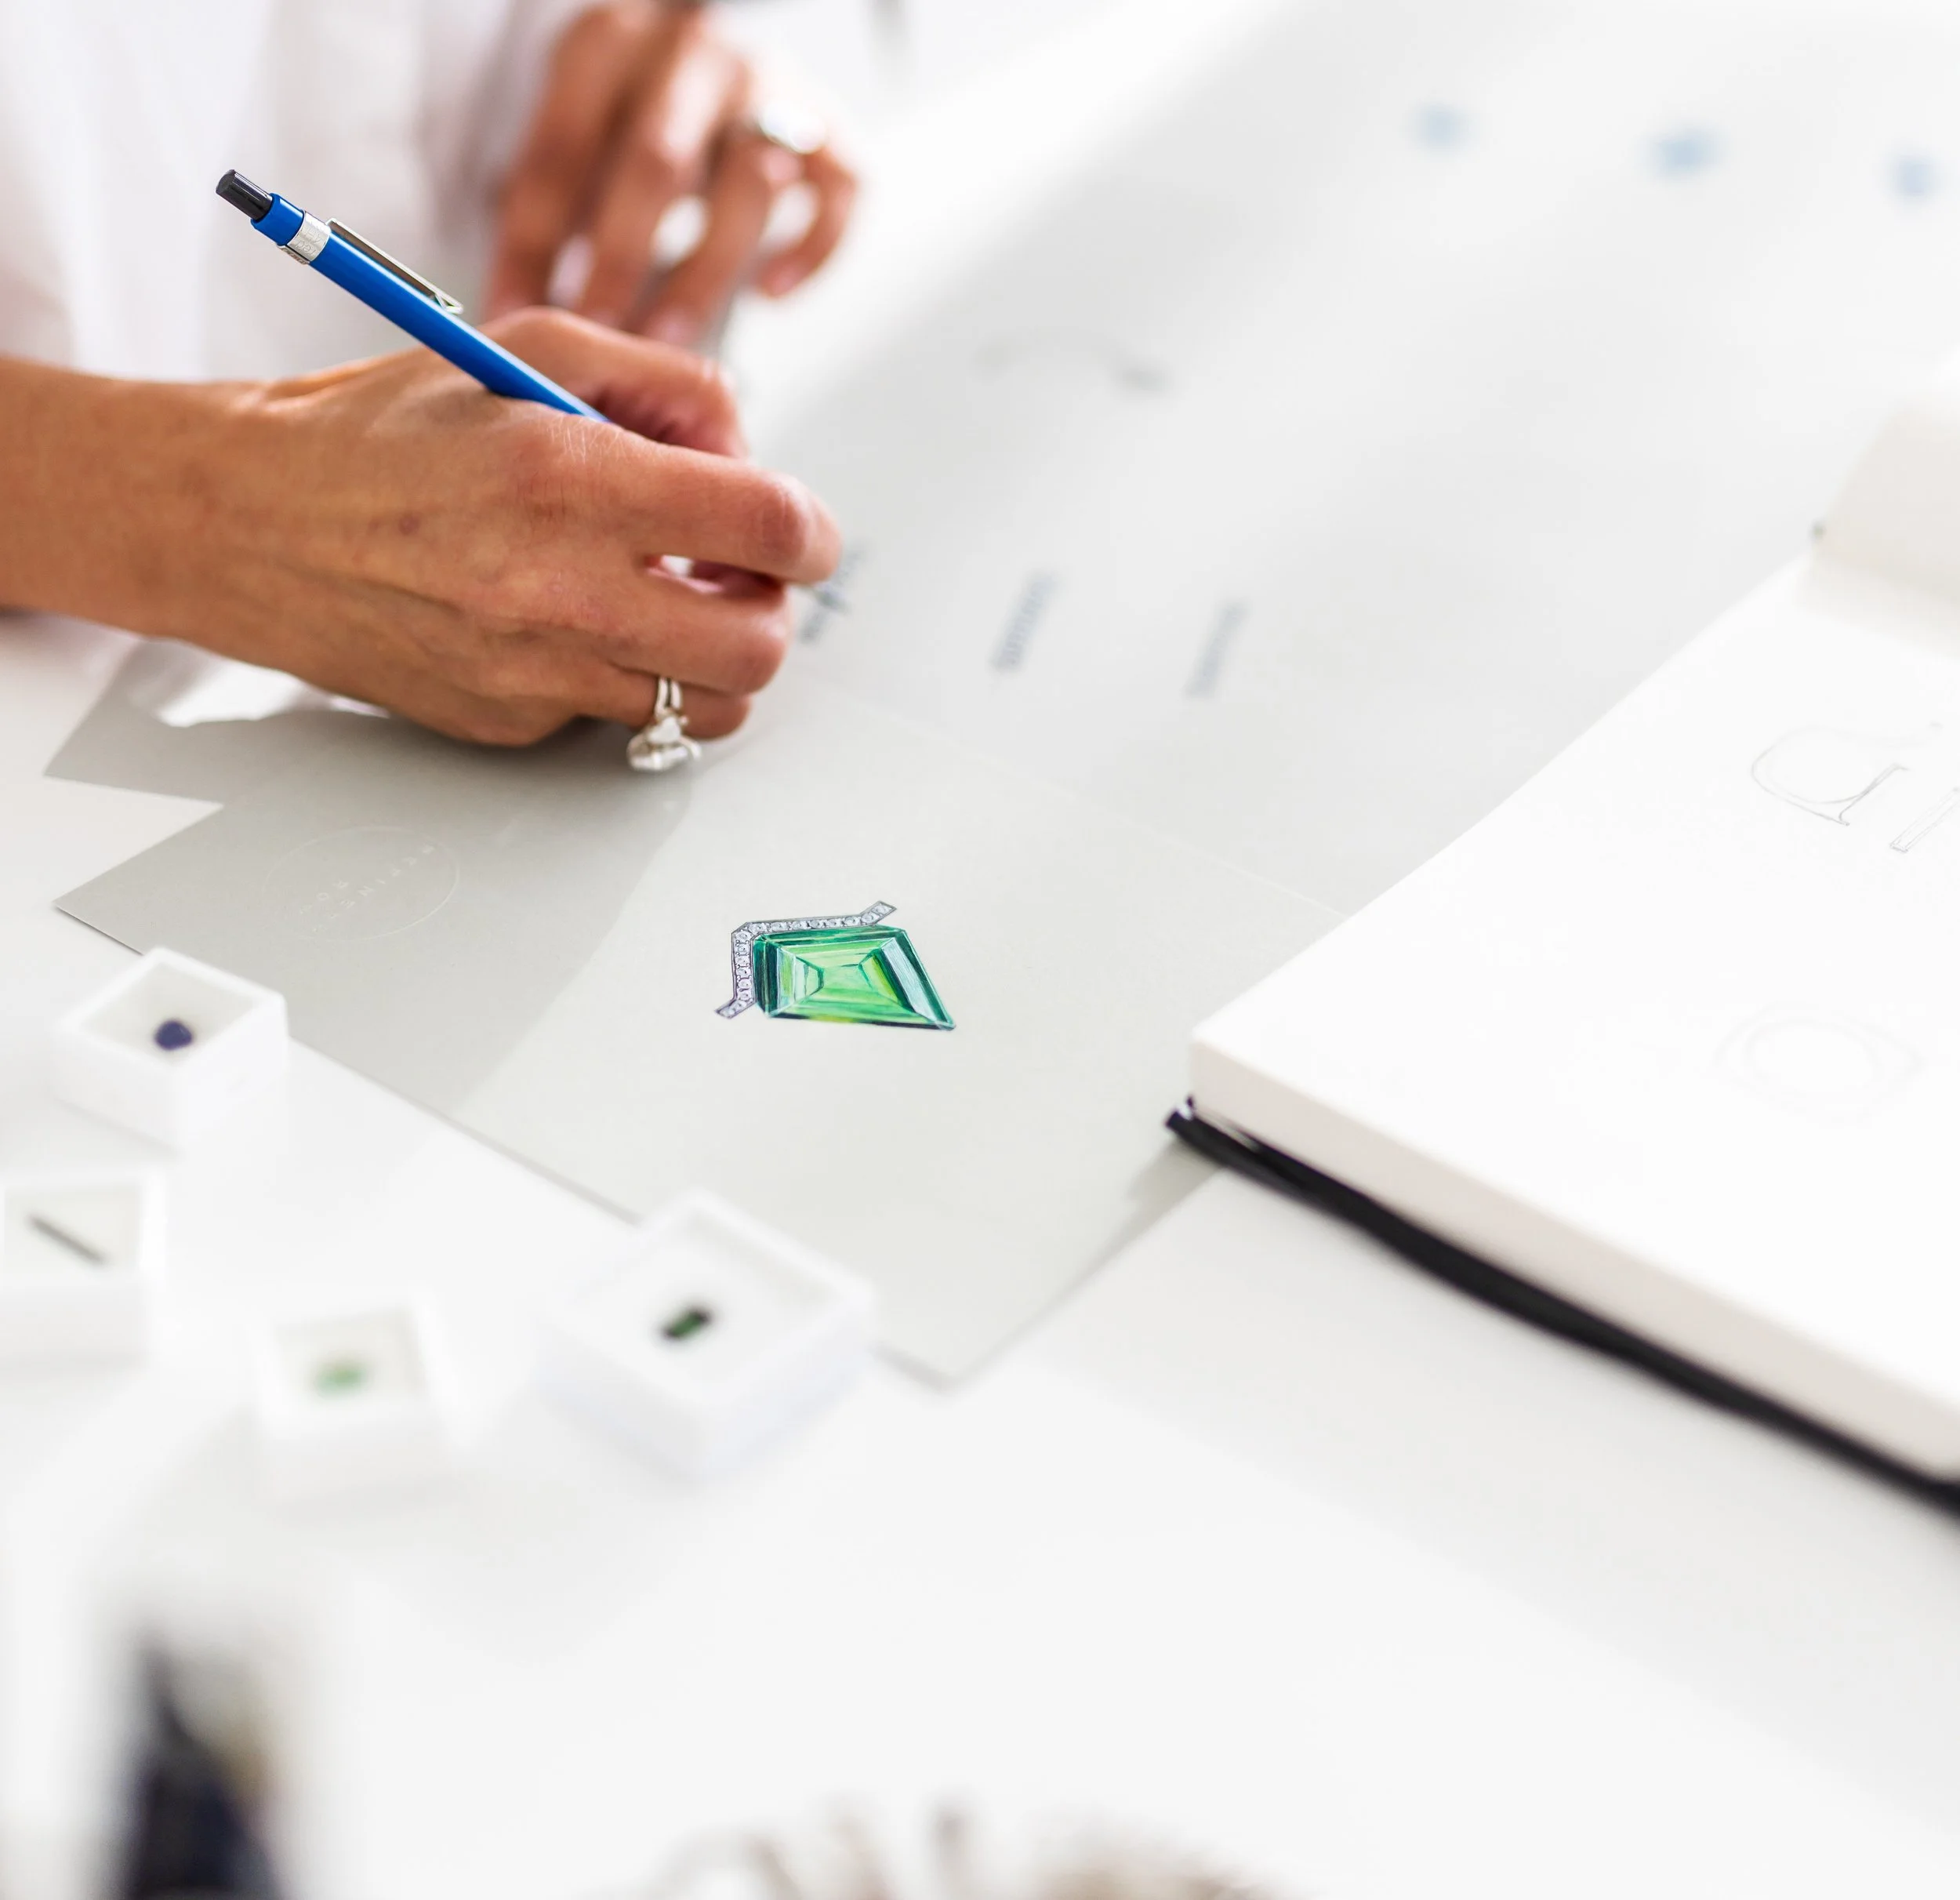
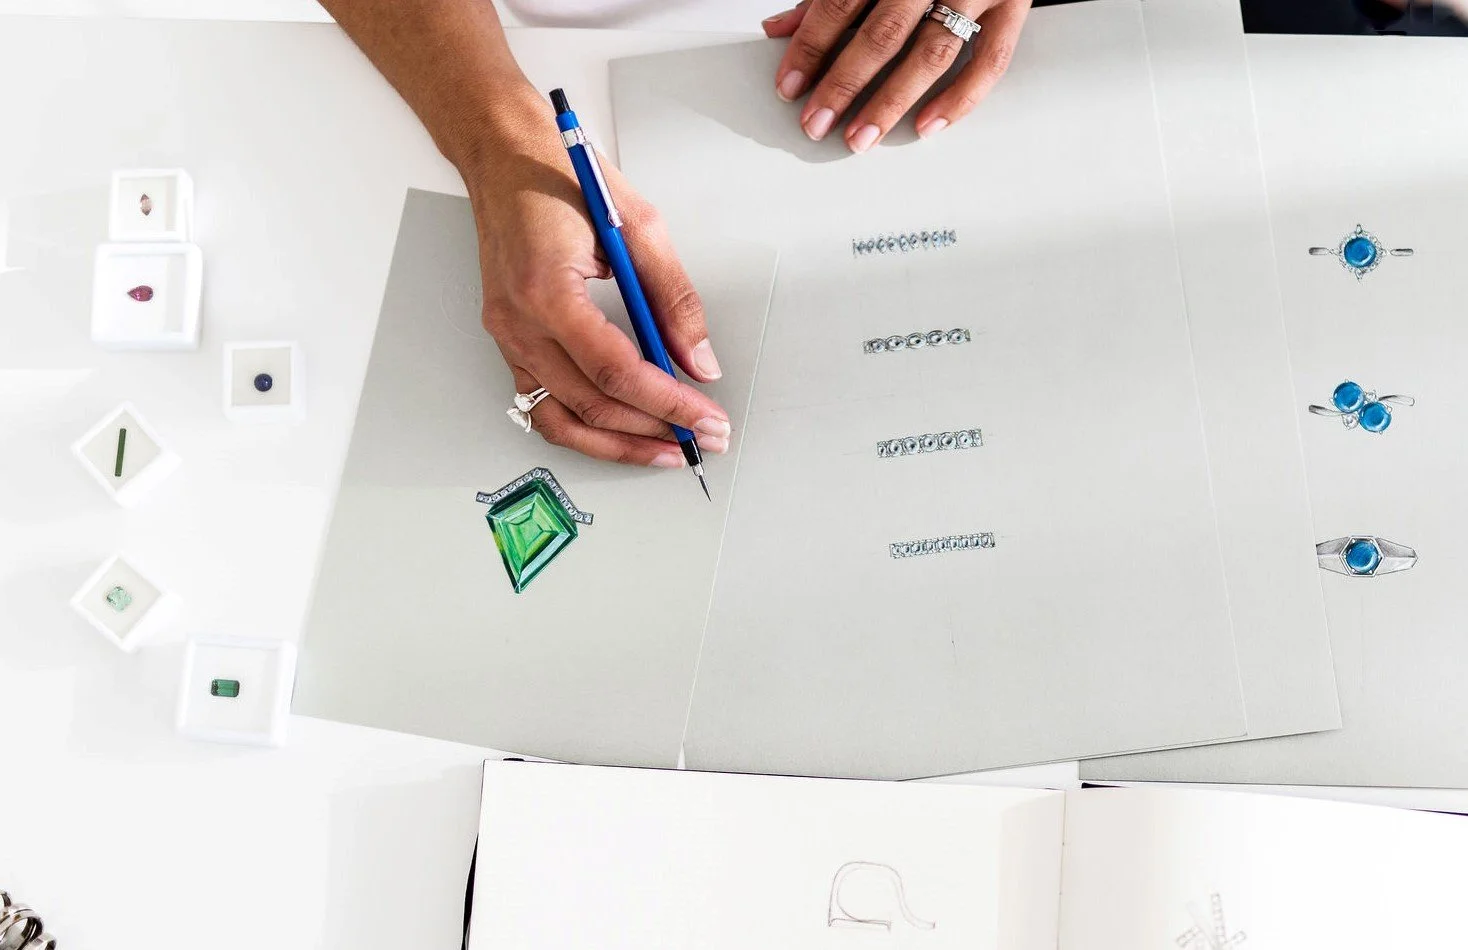
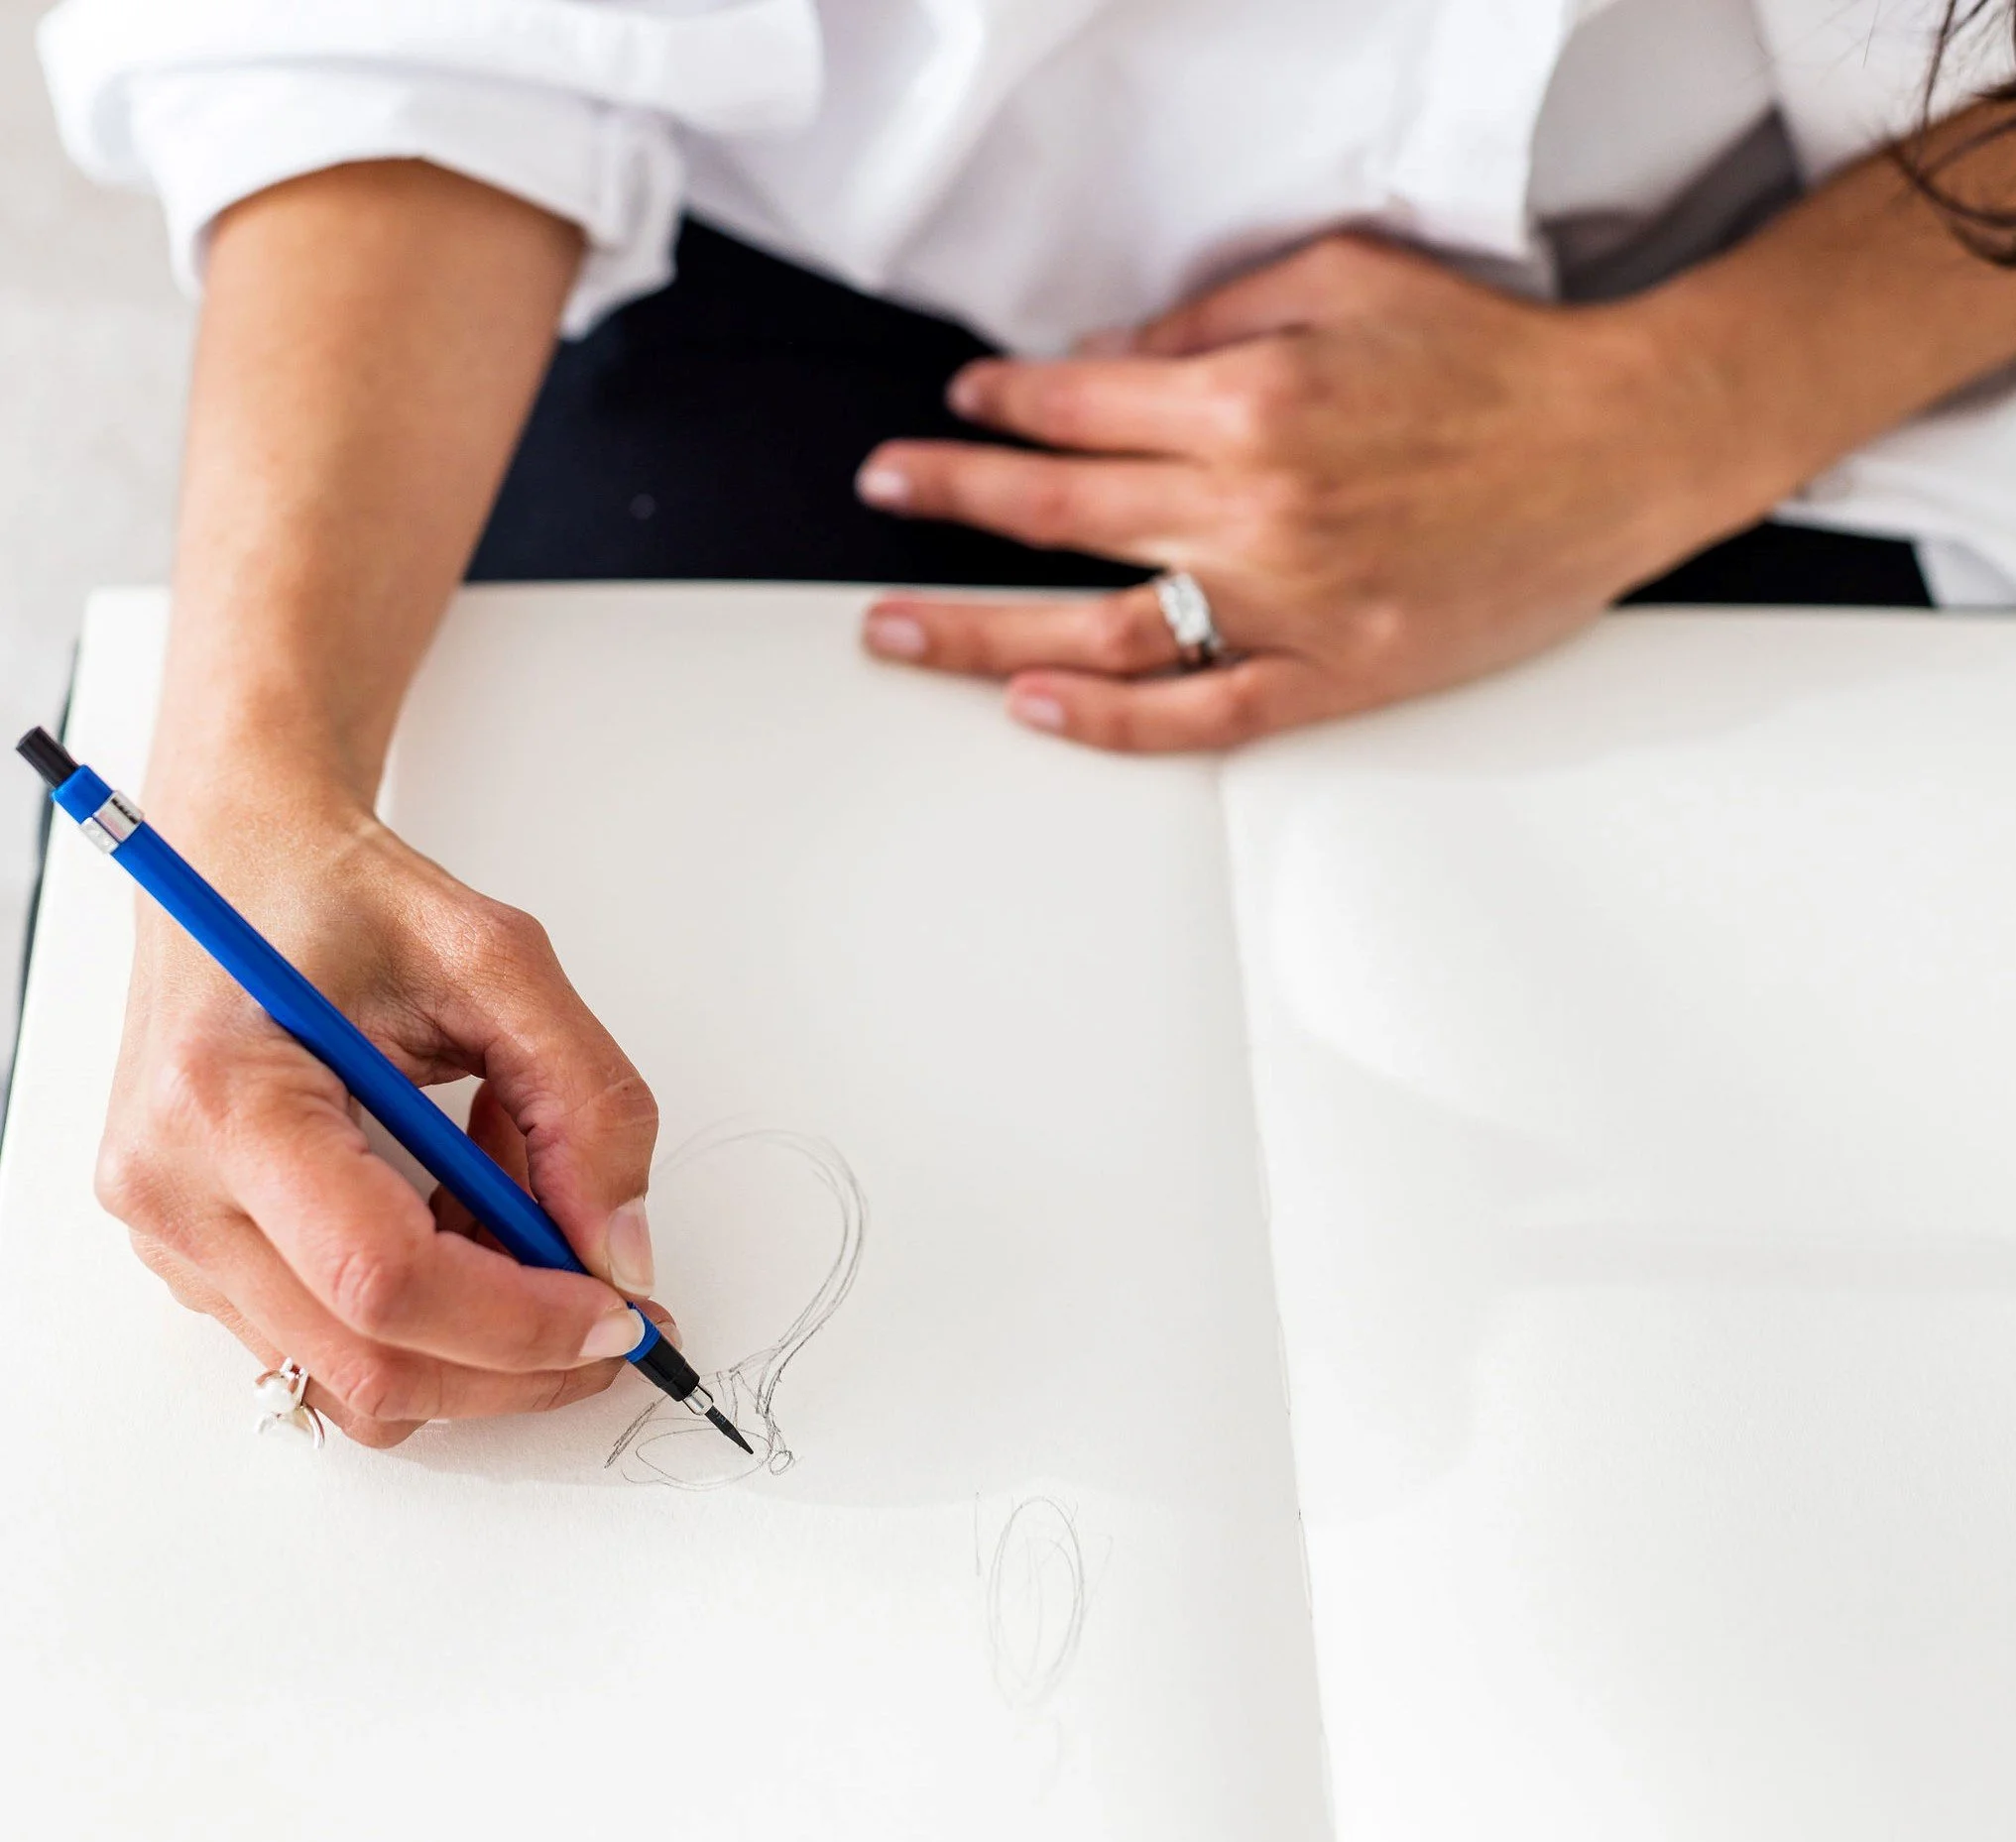
I needed to trust in everything I had learned and lean in. I decided to push my drawing skills a lot further and upskill on my own. I saw that drawing was a secret weapon that the industry wasn’t using to its full potential, but I was sitting in a part of the industry that didn’t really see its value. I couldnt find anything to help me extend my education but I knew the design process could be different, more personal and more interesting. So, for the next few years I spent a lot of time teaching myself more advanced design, drawing and illustration techniques. I needed to find something that actually worked, extend my skills, techniques that looked good but were actually achievable, relevant and genuinely engaging. I began upskilling through experimentation and a ridiculous amount of practice so I could highlight and showcase the importance of techniques I knew the industry could leverage. Skills that were needed to add depth to the custom design process.

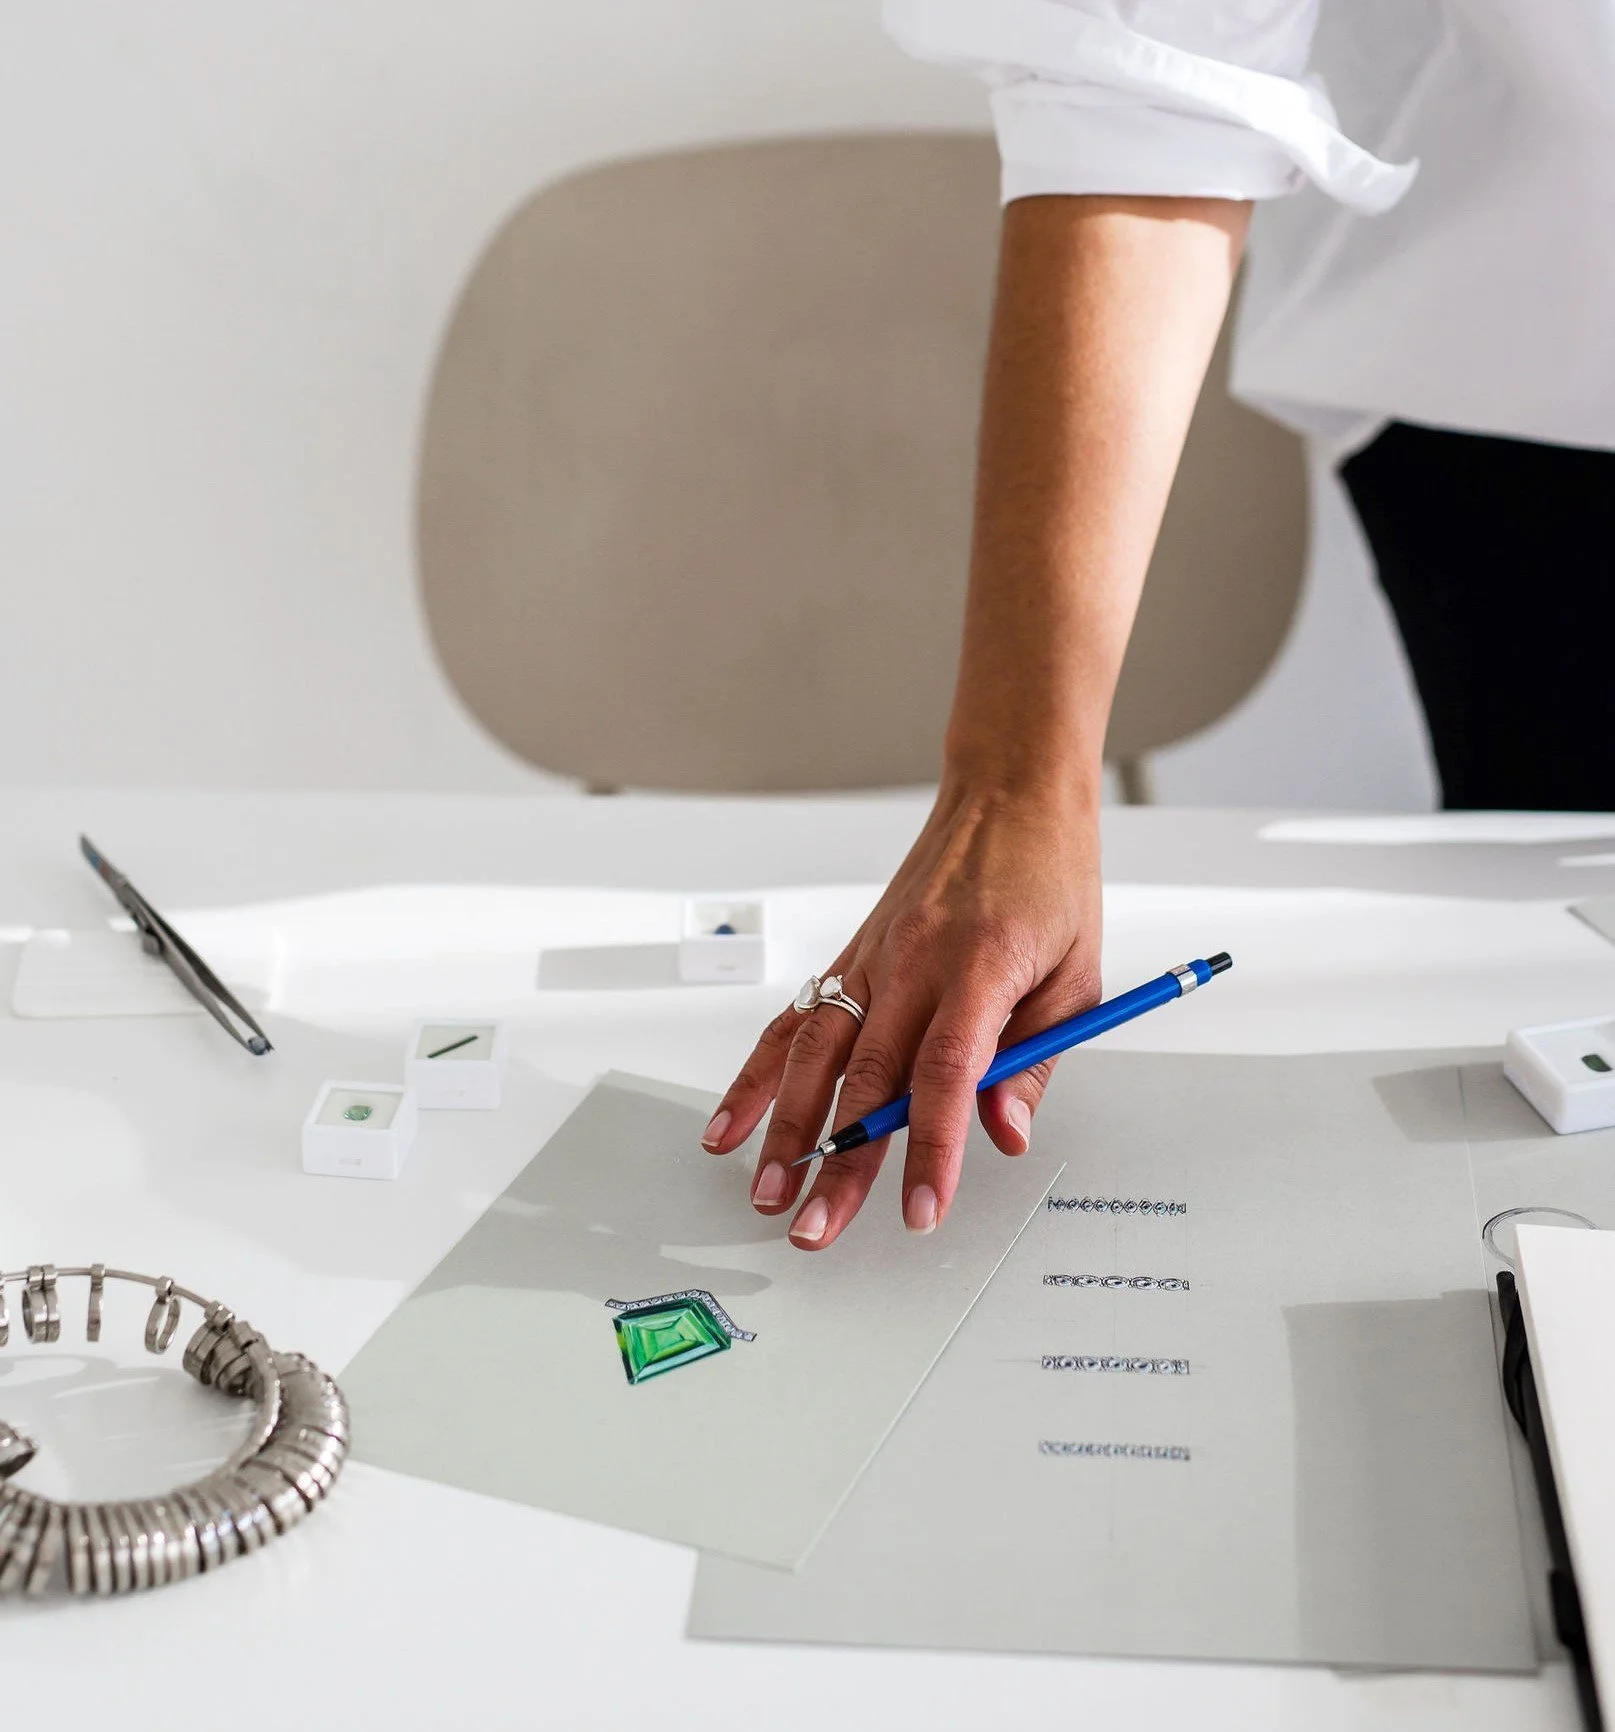
After having my little boy everything fell into place, the design and illustration skills I had been building won me an international design competition, and then another one and then another one and my illustration skills and confidence was growing. I knew I couldn’t go back to work fulltime in a role that didn’t challenge me while also juggling kids so I started Refinery Row. This meant I would be able to support industry where help was needed, as well as create special custom pieces for my clients. I started sharing my work with the aim of highlighting how useful drawing and considered design could be.
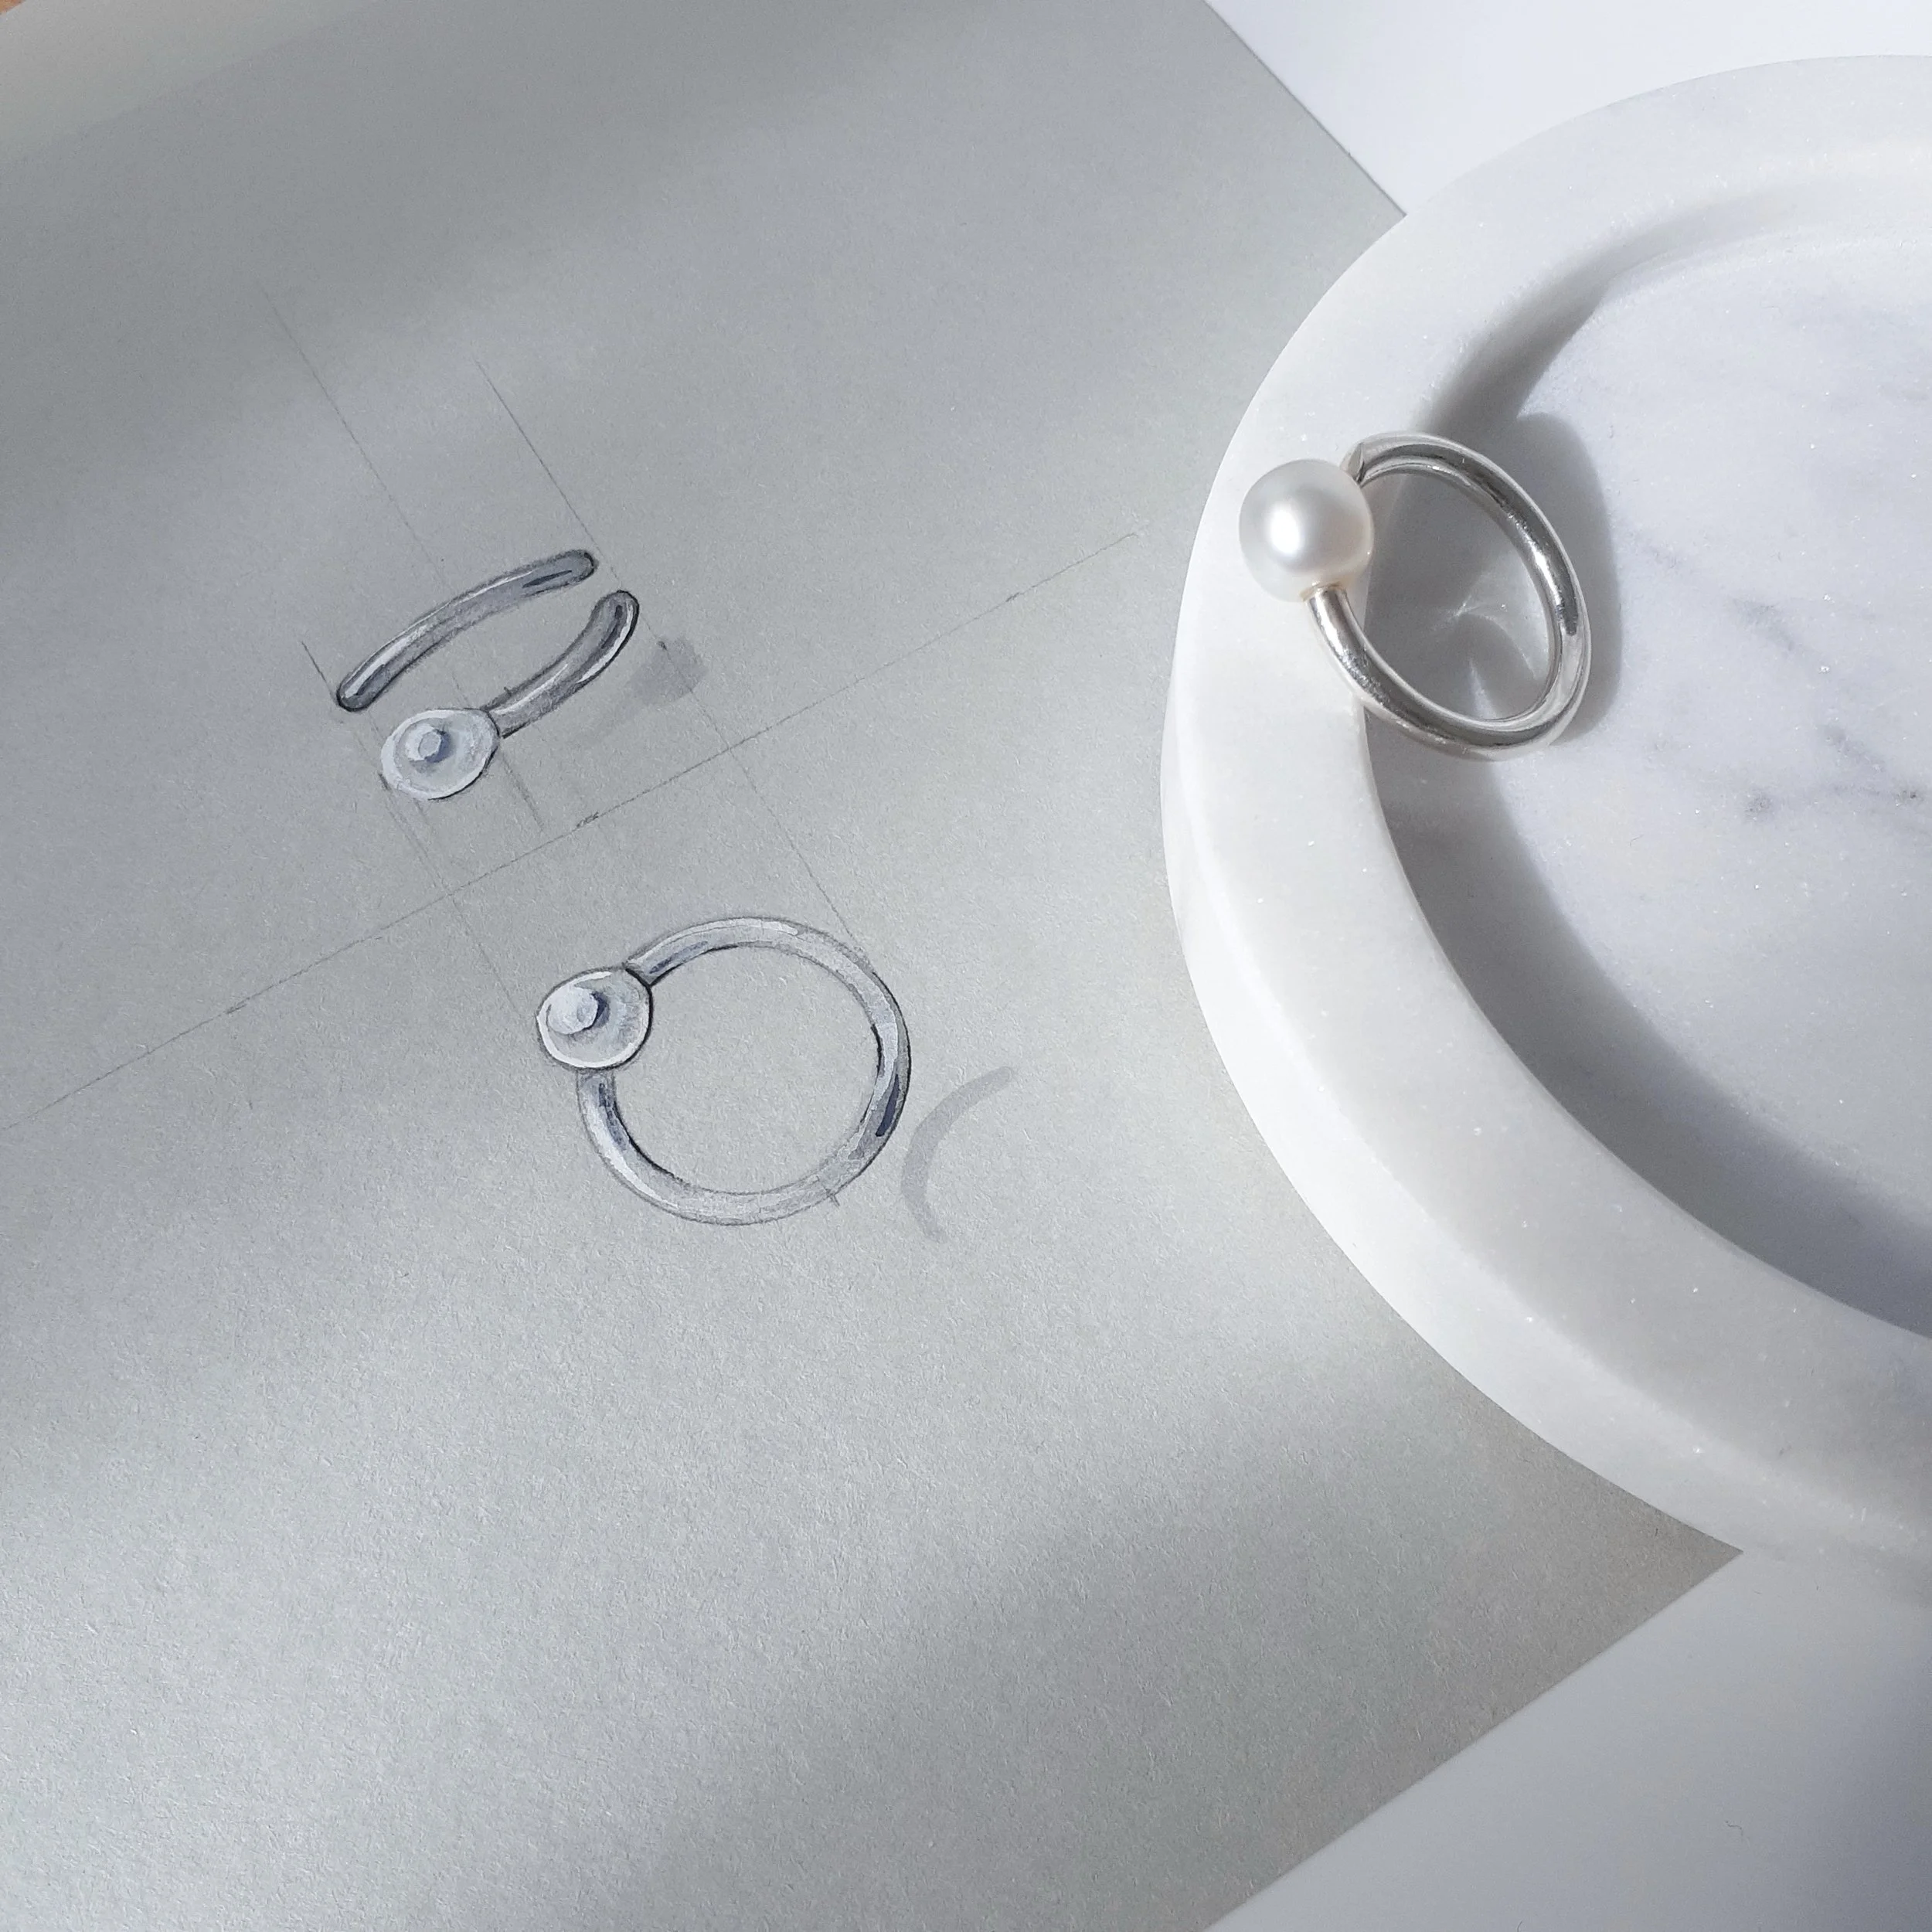
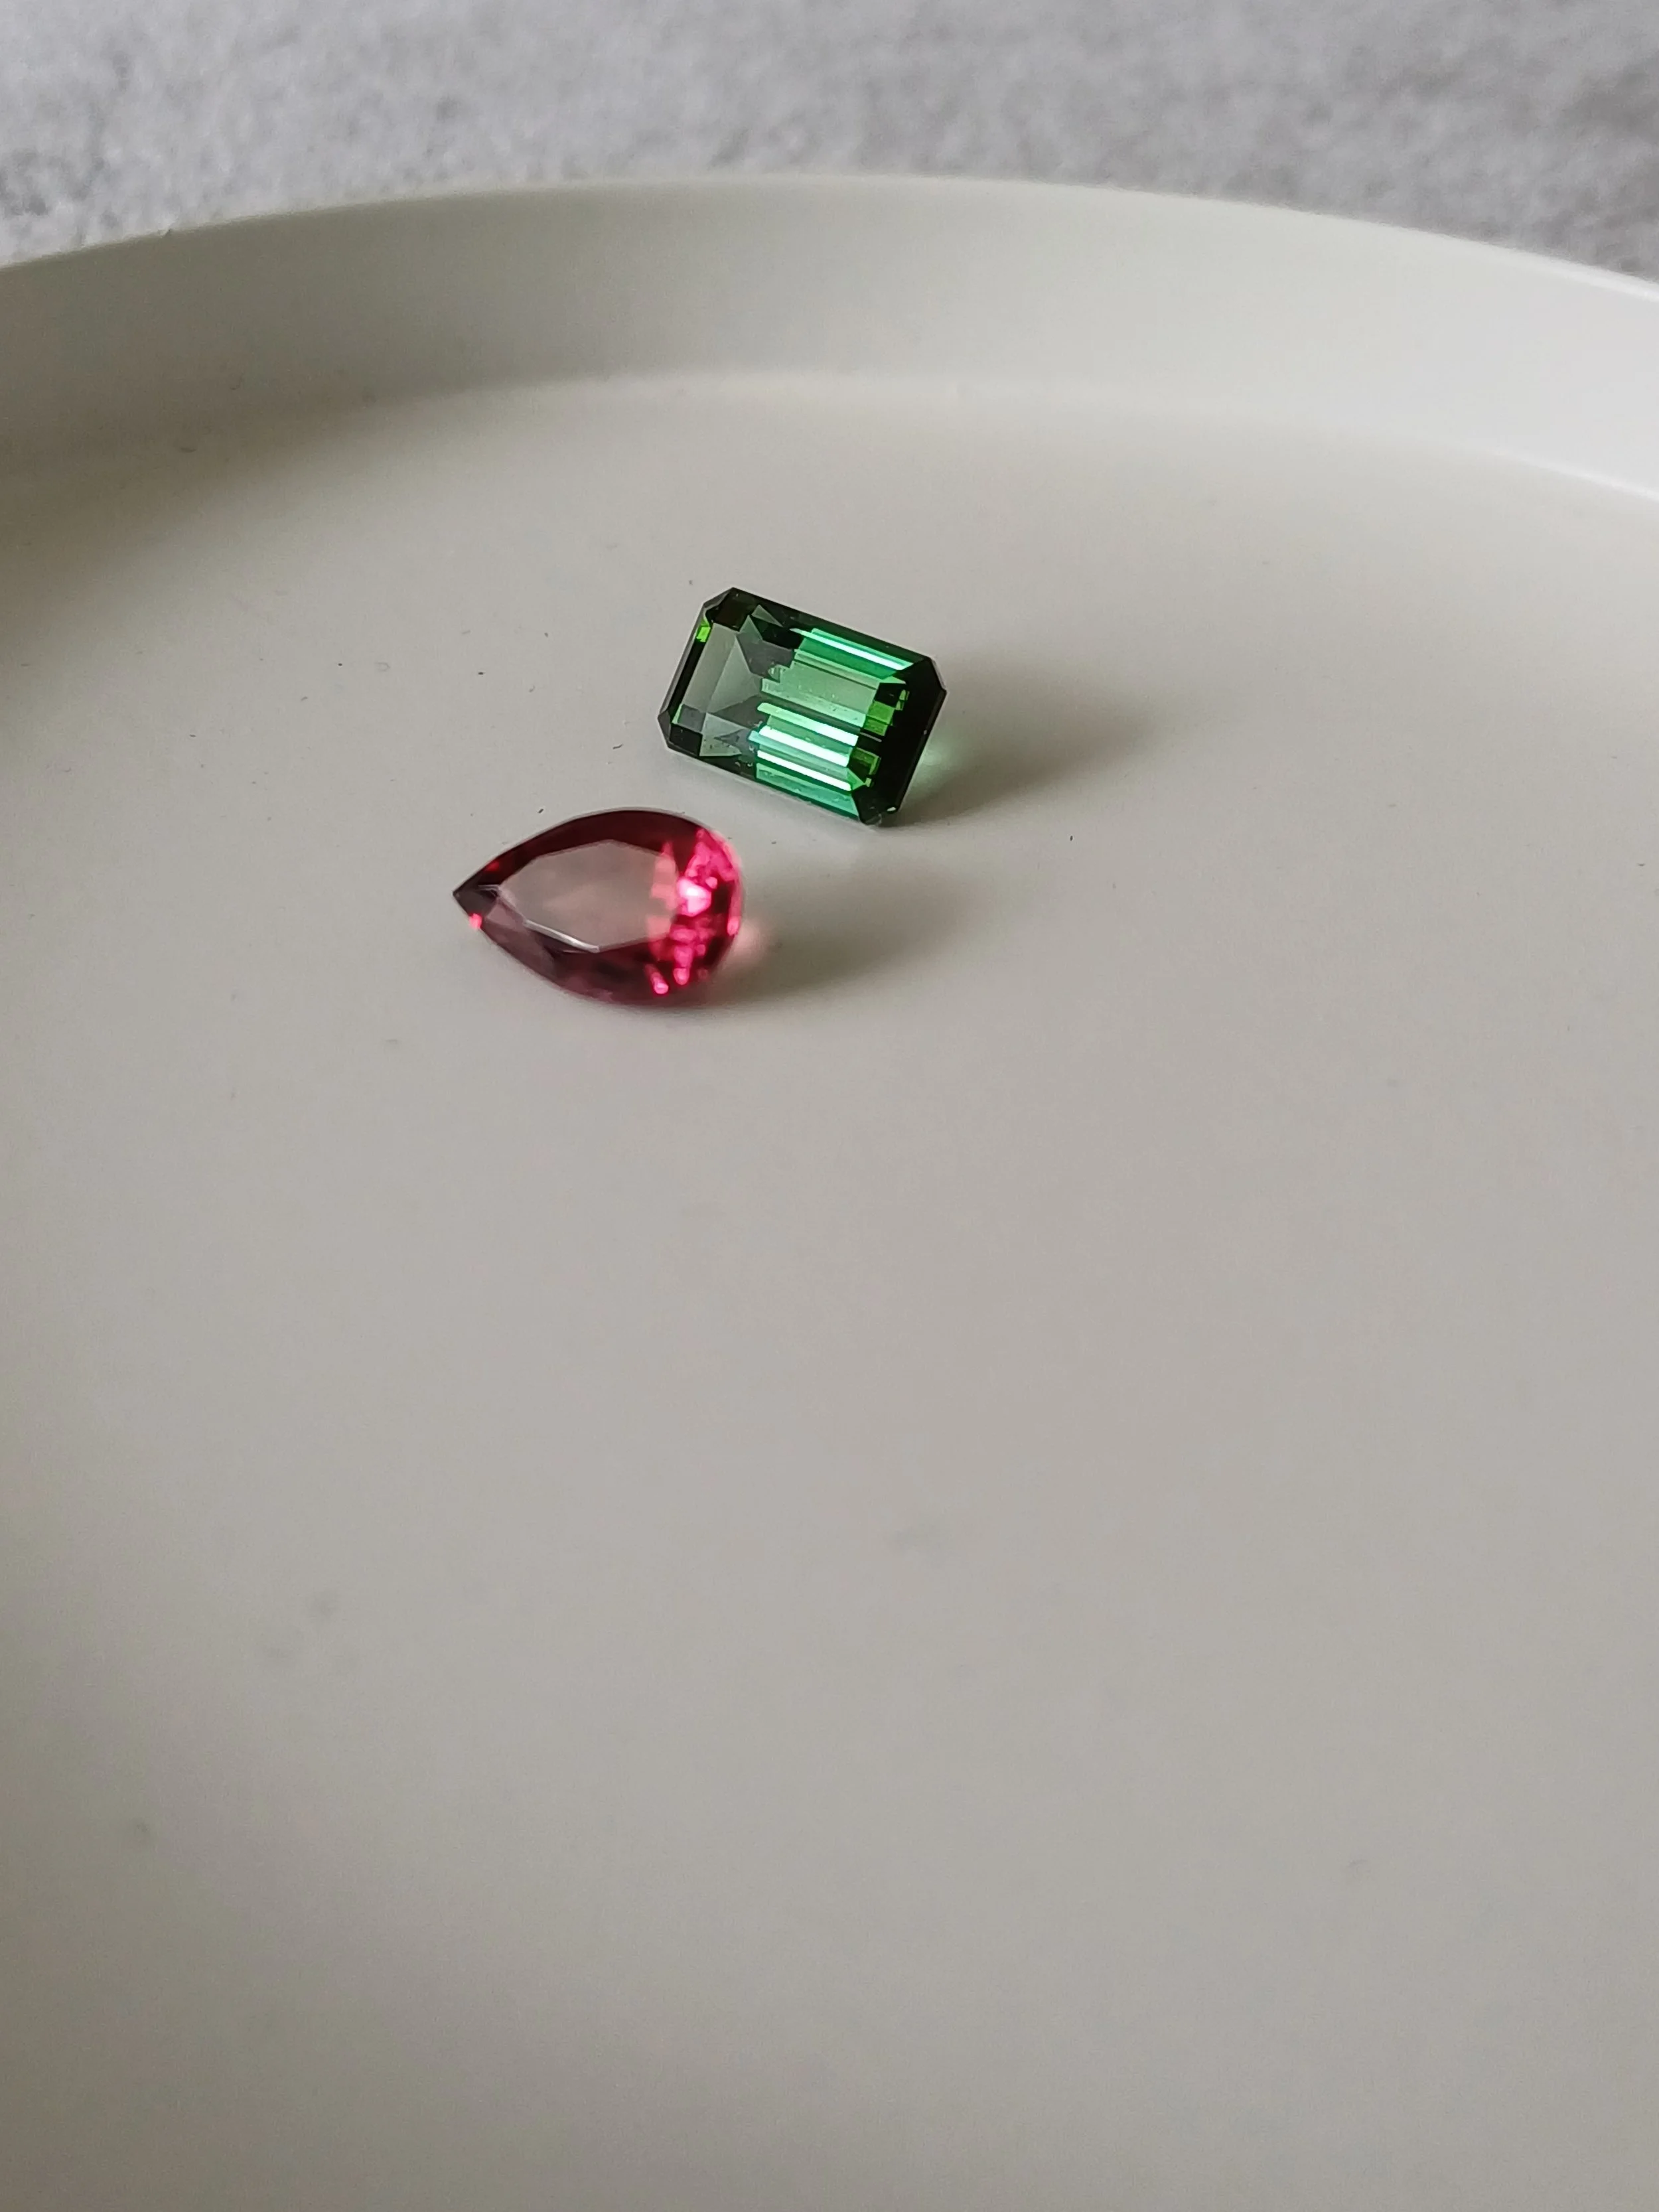
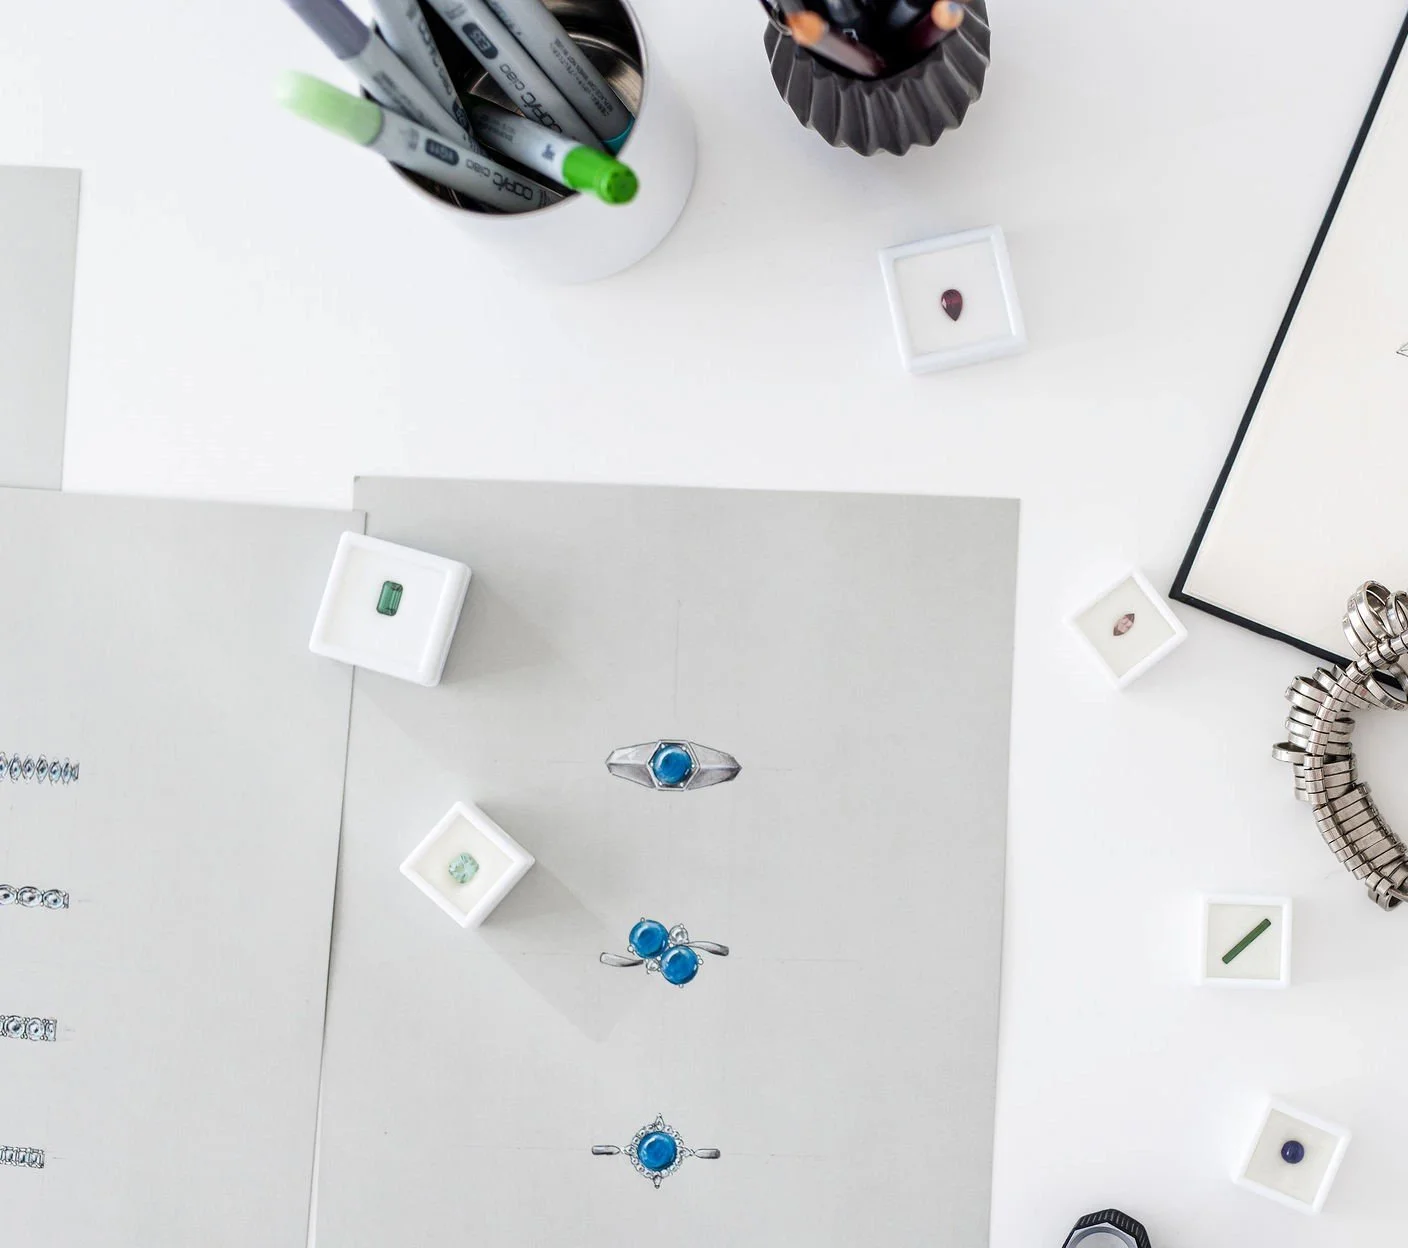
Refinery Row was born to offer a range of services (hence the word “Row” - lots of options to choose from/ lots of skills for me to share/ lots of different projects to keep me from getting bored) The word ‘‘Refinery’’ references a few things - the process of design and the magic of turning raw materials into something beautiful.
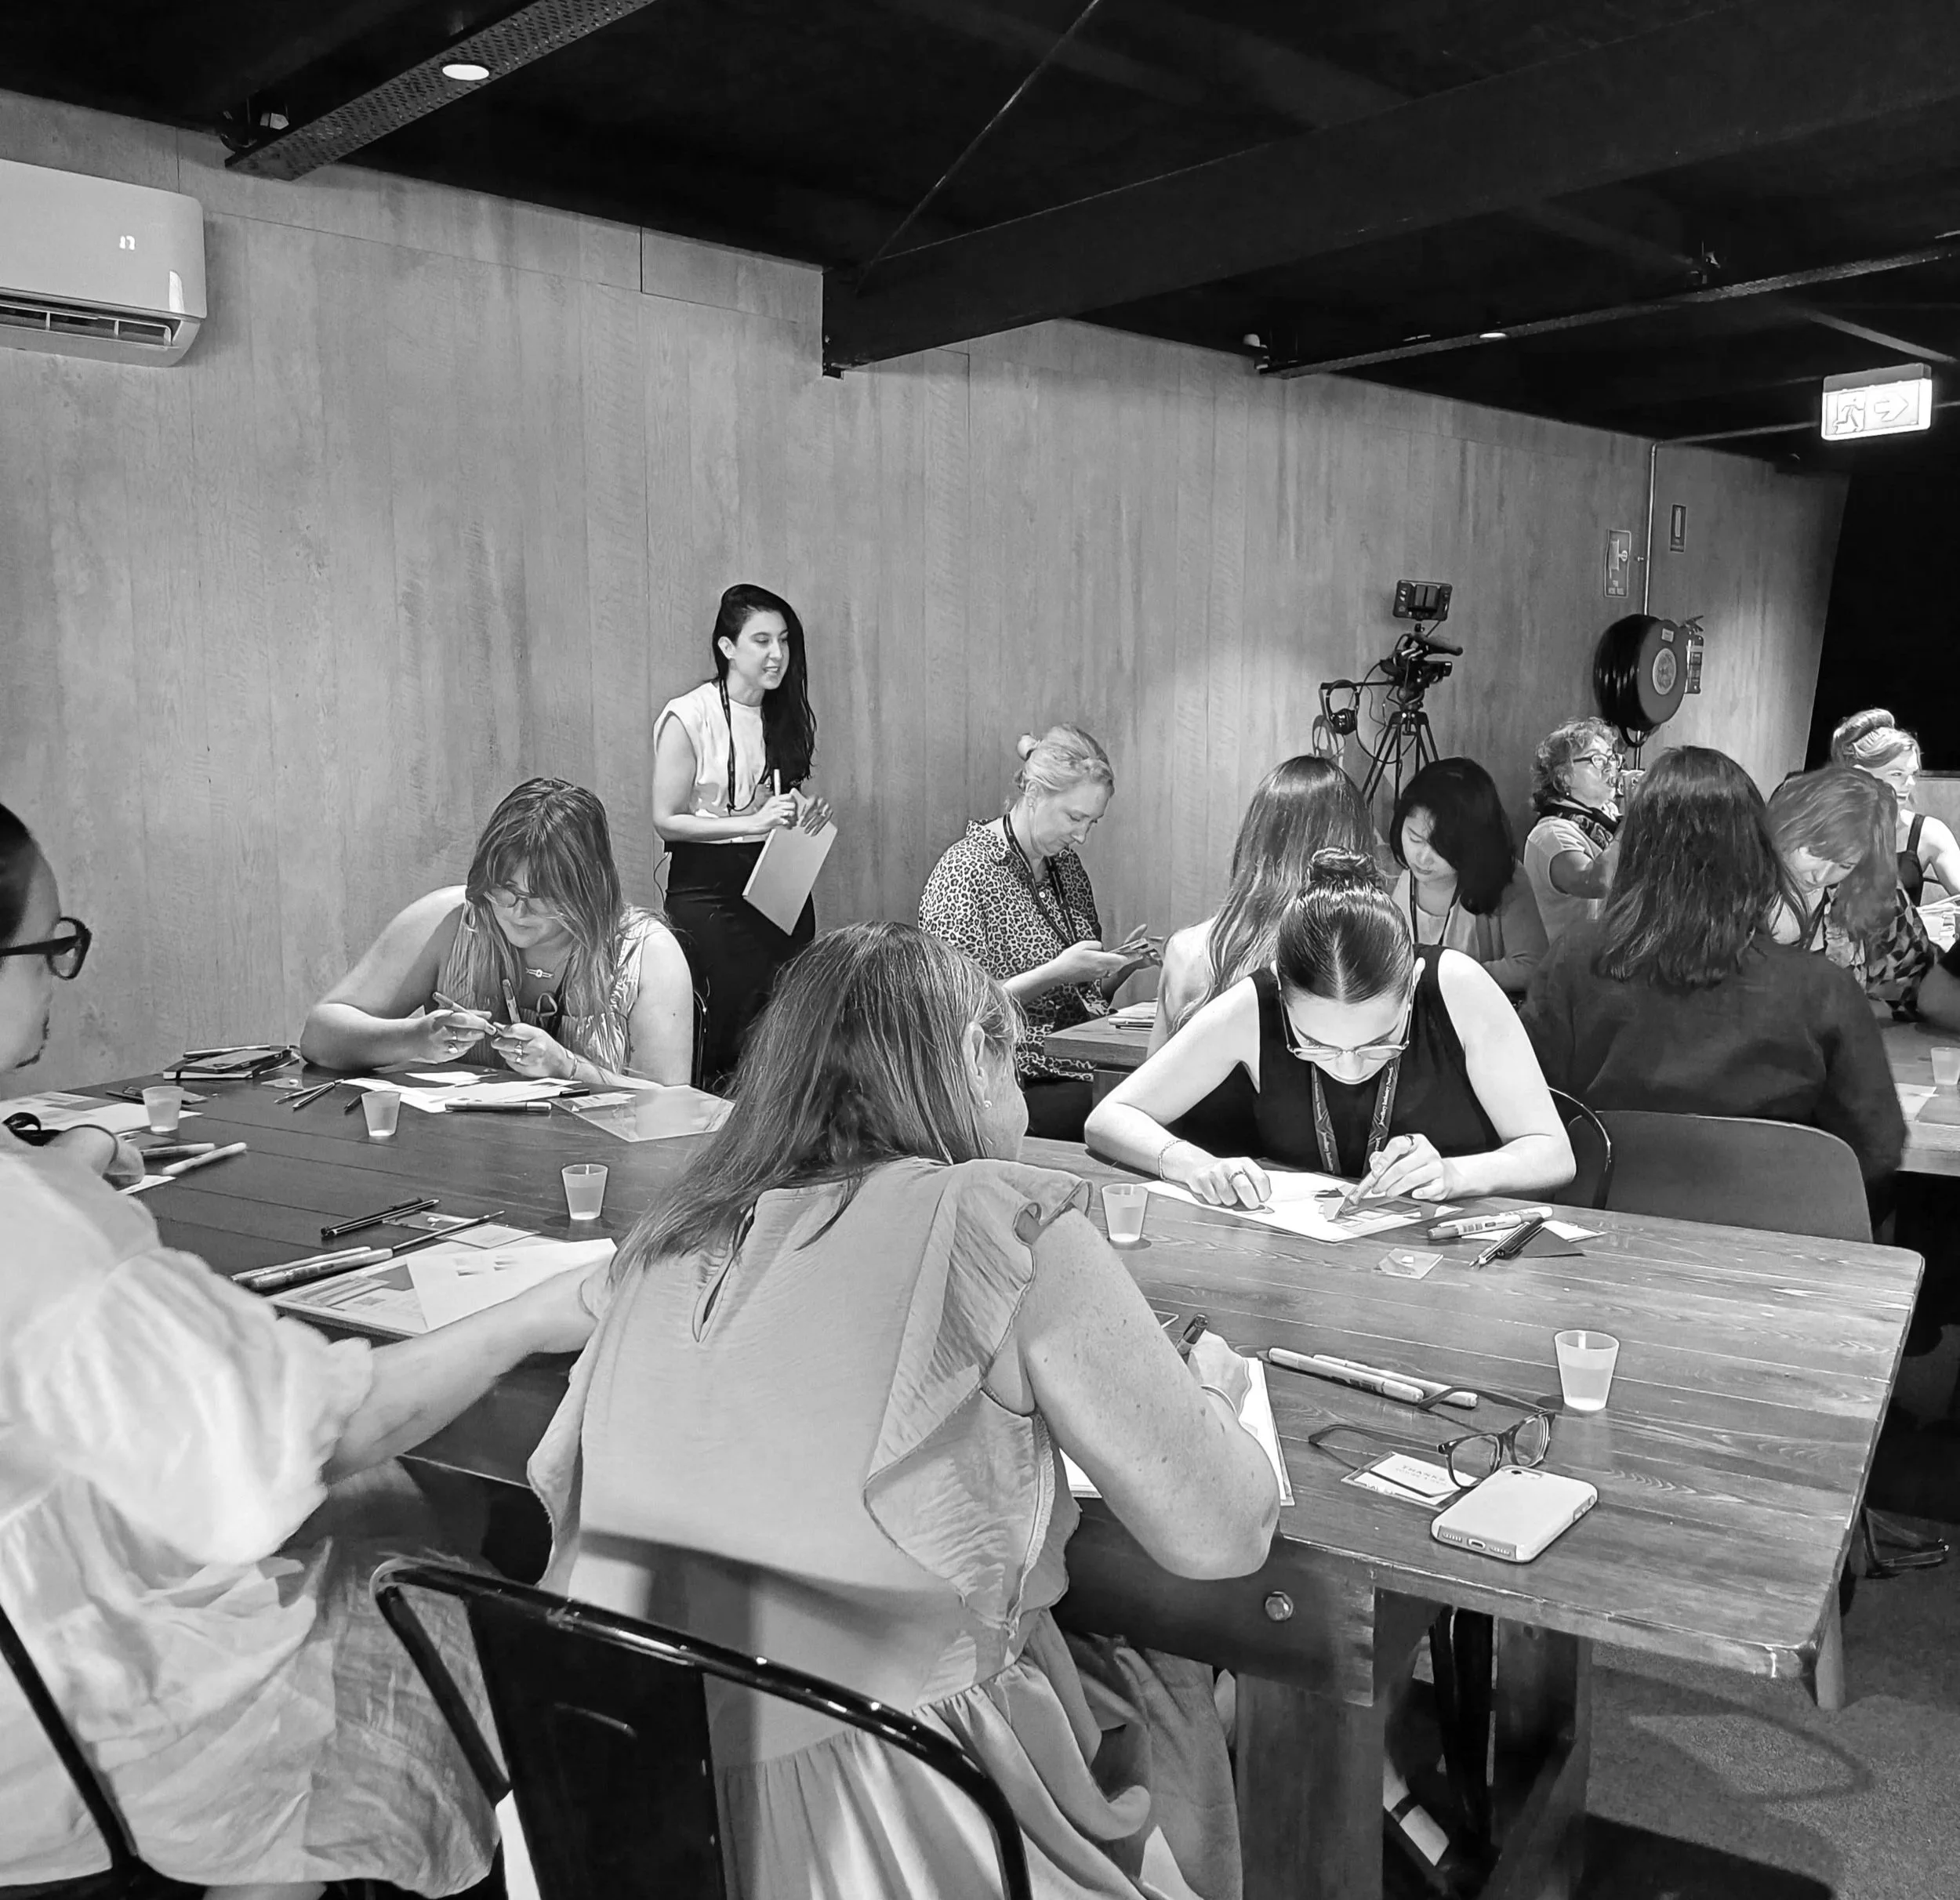
After building an online presence I was asked to guest lecture, they loved me and I enjoyed teaching. I never expected to enjoy creating education and sharing skills, if you met me 10 years ago you wouldn’t connect those dots but it turns out I comfortably and naturally added this to my offering. From there I became a qualified trainer and travel Australia providing education and workshops to industry, funneling years of experience into techniques I know actually work.
Now in a unique position, I have made it my mission to help fill the gaps and provide relevant and useful training with a well-rounded understanding and experience in the industry. As a qualified trainer I now bring the two worlds together with in person and online training that supports the jewellery industry. I knew that long term sustainability comes through passing skills down and I was finally in a place to pass that information on.
After an unexpected start, with an open mind I’m lucky enough to create work full of joy that encourages human connection and longevity of the jewellery industry through Design, illustration and education services. By nature, Refinery Row will evolve and expand to support clients, the industry and my creative practice so I look forward to sharing many more fun projects and creative directions.
Welcome to Refinery Row.